Cutting My Loses
Generally speaking, I’m somewhat happy with the progress that I’ve made with the Lego Star Tracker version 5. But I’ve racked up quite a list of issues, limitations, and problems that all need solutions and I’ve come to the realization that version 4 was actually a better and more stable design. So it’s time to cut my losses and head back to the drawing board to design the Lego Star Tracker Version 6.
Before I get too far ahead of myself, it’s a good idea to reflect a little bit on the previous versions and map out what worked well and what didn’t. That way I’ll be able to stay focused on putting a version 6 together that will hopefully work well.
Version 4 Pros and Cons
| What Worked Well | What Sucked |
|---|---|
| Open face camera mount | No counterbalance |
| Good tracking when dialed in | Worm gear prone to slip |
| Wheel-based support of the load arm | The left/right balance of the load arm was off |
| Easy to set up | Uneven wheel surface added photo distortion |
| Easy to reposition | Camera clearance with the body in certain positions |
| Compact | Small sweet-spot of operation |
| Still a lot of flex in the load arm |
Version 5 Pros and Cons
| What Worked Well | What Sucked |
|---|---|
| Good support within the “box” | Had to bias with rubber bands |
| Counterbalanced | Worm gear prone to slip |
| Effective and compact gear train | Difficult to set up |
| Gear train release at the output stage | Limited sweep angle |
| Very stable base | Tracking was inconsistent |
| Easy to reposition | Lack of rotational stability in the “box” arms |
| Compact | Small sweet-spot of operation |
Lego Star Tracker Version 6 Goals
Basically, for version 6, I’m looking to keep the counterbalance and gear train upgrades from version 5 and the open face and support strategies from version 4. I’m also going to attempt to quash the worm gear backlash at the output at the expense of some real estate in the housing.
Making Life Difficult
Well, I suppose I could have preserved the output worm gear stage as is and things would have been fine for the first crack with version 6. I would have been able to reuse almost all of my version 5 housing along with the gear train and I could have probably had this all built in an hour or two. But where is the fun in that?
Nope, I had to over-engineer a strategy to control the output backlash which basically required a completely new design from the bottom up. And let me tell you, there was absolutely no joy with this for the better part of two days. My poor wife kept asking me what was wrong – as if something of existential importance was weighing heavily upon my conscience. Imagine how pathetic I must have looked by simply responding, “I can’t get my Legos to line up properly.” Yep, pathetic.
Slowly but surely though, I got it to all come together. I have to admit though, I’m less than satisfied with the outcome. Don’t get me wrong, I think this going to perform well, it’s just not as slick as some of my previous versions. The cubic nature of the rig is seriously triggering my OCD tendencies. Well, I can optimize later after I see how it holds up to testing.
The Latest Build
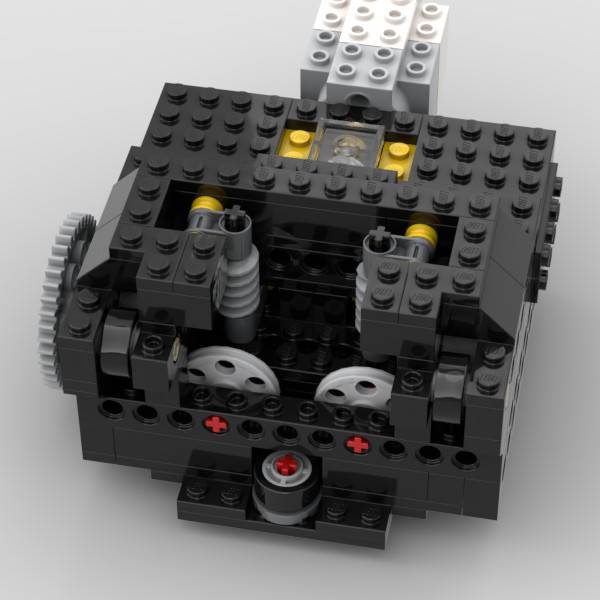
The first thing I had to do was to invert the gear train. If I kept the version 5 design, the gear train would have sat too high on the rig. When coupled with my strategy for backlash reduction, this would have necessitated a very tall build. I didn’t want to go that way, so inverting the gear train was the best solution to that problem.
Next, no matter what I did, I found myself with an offset of either 1/3 of a brick or 1 hole. This really drove me nuts. I actually ended up having to solve both offsets which had the less than desirable effect of adding another 1:1 gear pair in the train. As you’ll see, I already added another set of gears in the gear train to execute my backlash strategy. So it’s not as concise and efficient as I would like. But it’s OK for now.


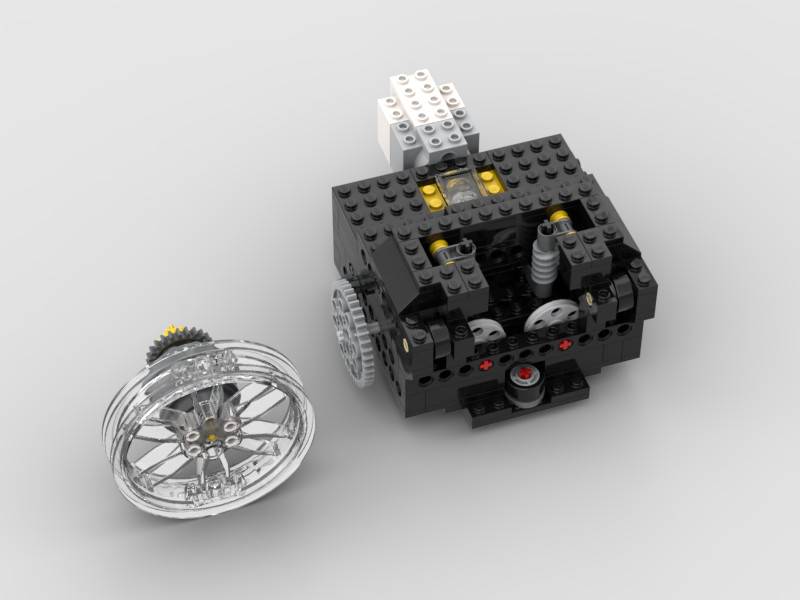
Finally, I recycled the base from the version 5 tracker and mounted the rig. I also added a small gear train to the input of the linear actuator. This should give me a little more precision in the altitude adjustment when I get out.
Lego Star Tracker Version 6 Camera Test
So I whipped up a real quick wooden platform for the camera mount. It totally looks awful, but it’s good enough for some quick testing. If the tracker performs well then I’ll build a proper platform. Since I lack a drill press, it’s really hard to drill straight holes through the wood for the counterbalance rod.
With that out of the way, I carefully attached my camera and loaded it into the rig. Next, I fired up the Boost program and just observed what was going on. The tracker is holding up alright in terms of the load, but there is a problem…
Somewhere in the output, the rotational energy is getting stored up and this results in a kind of stick-and-slip movement. Well, that’s not going to work… At first, I thought I was overloading my pins which may have been part of the problem, but the real problem was the underneath support.
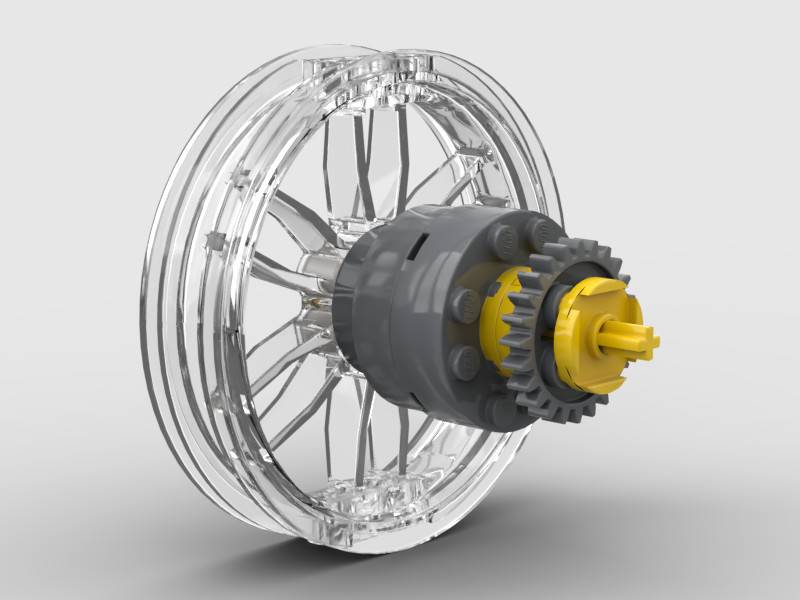
So to solve this challenge, I opened up the face of the rig a bit and added a couple of wedge belt wheels which just so happened to line up perfectly with the load arm. I also discovered that I needed to shorten up the supports of the side wheels as they were making contact with the load arm. I think with those modifications, I’ve eliminated as much friction as I can for right now.
That’s all I can do for now. Unfortunately, the next two weeks are forecast to be cloudy – shocker… But there’s plenty to tinker around with in the meantime. So now it’s time to wait…
