Admittedly, I’m a bit behind on my posts this week but for a good reason. I’ve taken ill with the blight of our times and therefore been spending more time sleeping than, well, anything else. But I didn’t want to end the week with only one post so I thought I’d quickly throw together a post about a 3D printed leveling platform upgrade I developed.
While there really wasn’t anything wrong with the first leveling platform that I made, I was concerned that if I didn’t keep the balance quite right, the rig might tip over. I’ve written that story before, so I figured that was a lesson learned and so I designed a new base with a wider footprint that would be more tip-resistant.
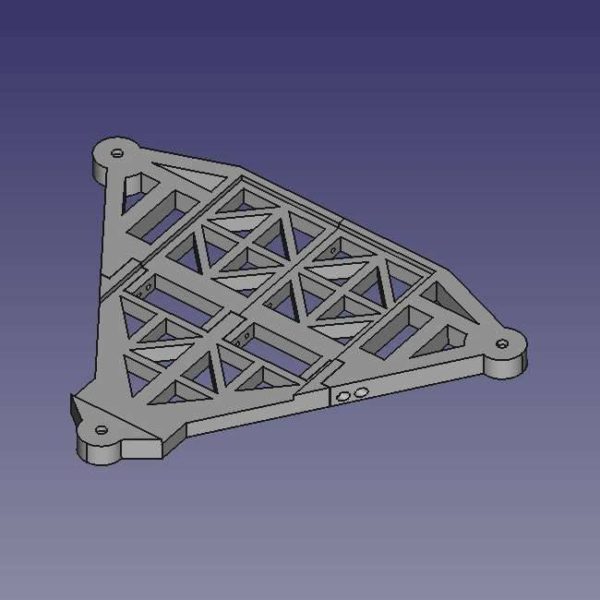
Designing the Leveling Platform in FreeCAD
I took away a lot of good learning points from my first design. Namely, it was perhaps better to ensure all of my connections occurred on the x-axis or y-axis. In the first design, I had to spend a lot of time calculating the arm lengths along a pretty screwy angle. While this was doable, it was much easier to simply have everything meet up at right angles along the x-axis and y-axis planes.
The other key learning point was that I needed to ensure that my design took printing inaccuracies into account to ensure that all my pieces would fit together nicely. I determined with a test print that 0.25mm is a good buffer to use between parts to ensure a good snug fit. This rule also works nicely for the screw holes by taking the radius of the screw and adding 0.1mm (effectively 0.2mm on the diameter).
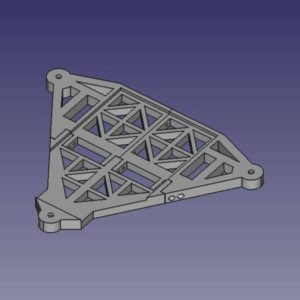
So with that, I threw the following part design together in FreeCAD.

The Final Result
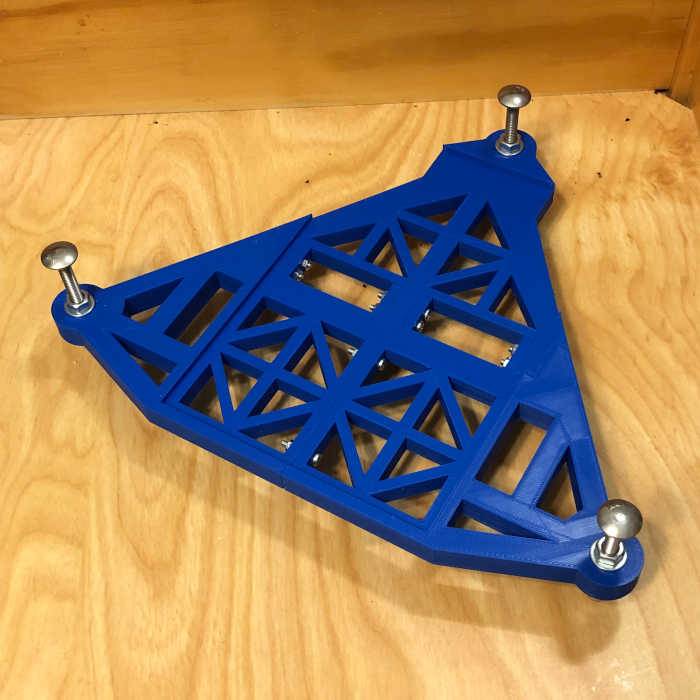
This took about 8 hours to print in total and I was pleased with how all the parts ended up fitting together nicely. If there was one oversight in the design, it is that the screw holes in the forward section of the platform do not allow sufficient space to actually fit the screws. I therefore had to widen the holes a little bit to ensure I could simply slip the screws through the bracket and then rely on the hex nut to keep things tight. I did this with an awl that I just rotated until the friction softened up the plastic enough to stretch it a bit. Problem solved.
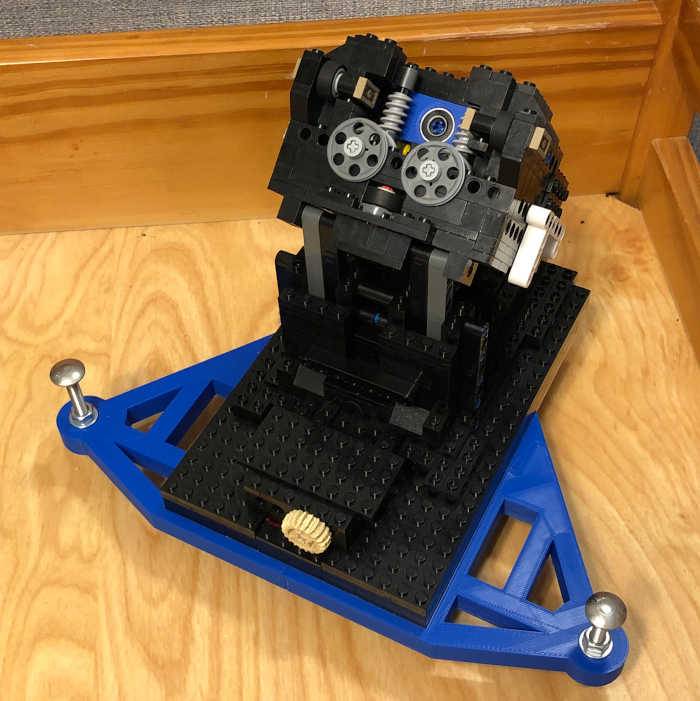
Anyway, here is a look at the final result with and without the Lego Star Tracker.

|
This upgrade to the leveling platform is far more stable with the camera in place. I also like how I can just head outside, plop this base down, and use my iPhone to level it. Then the Lego Star Tracker just slips into place when I’m done. The 3-point base is also far easier to level than the original wooden 4-point base.

