Just a Little Bit of Progress
The Lego Star Tracker version 1 was a flop, but I can see the potential so I’m feeling pretty motivated. I’m going to modify the design for the Lego Star Tracker Version 2 by trying a different approach that will hopefully overcome the issue with my Lego’s axle rigidity.
One of the best things about Legos is the ability to tear it all apart and start all over again. While I’m a bit bummed my first version didn’t yield as good a result as I would have liked, the experience taught me enough to make a little bit of progress.
Let’s look at the modifications and see where we are now.
Something New
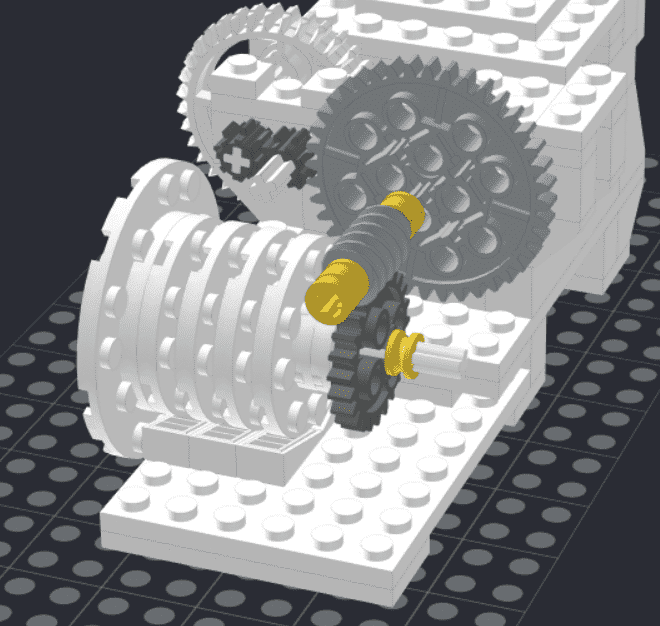
My redesign is fairly substantial but the basic idea is that since this device will be inclined at about 50 degrees (my home is 50 degrees North in latitude), I should be able to build a cradle to seat a platform that the camera is mounted to. I can then distribute some of the forces away from the axle and through the whole device.
Then, I’ll design the platform that the camera will be mounted to using an axle that is supported by bricks along its whole length. This should dramatically improve my rigidity issue. The added advantages are; I’ll be able to pop this platform out whenever I want, I’ll theoretically have 360 degrees of movement, and I can manually reposition the starting position whenever I want. Seems promising.

I’ll keep the whole gear train as it is since that seemed to work well – albeit functionally untested at load.
Time to build!
Lego Star Tracker Version 2 – Drum Roll Please?
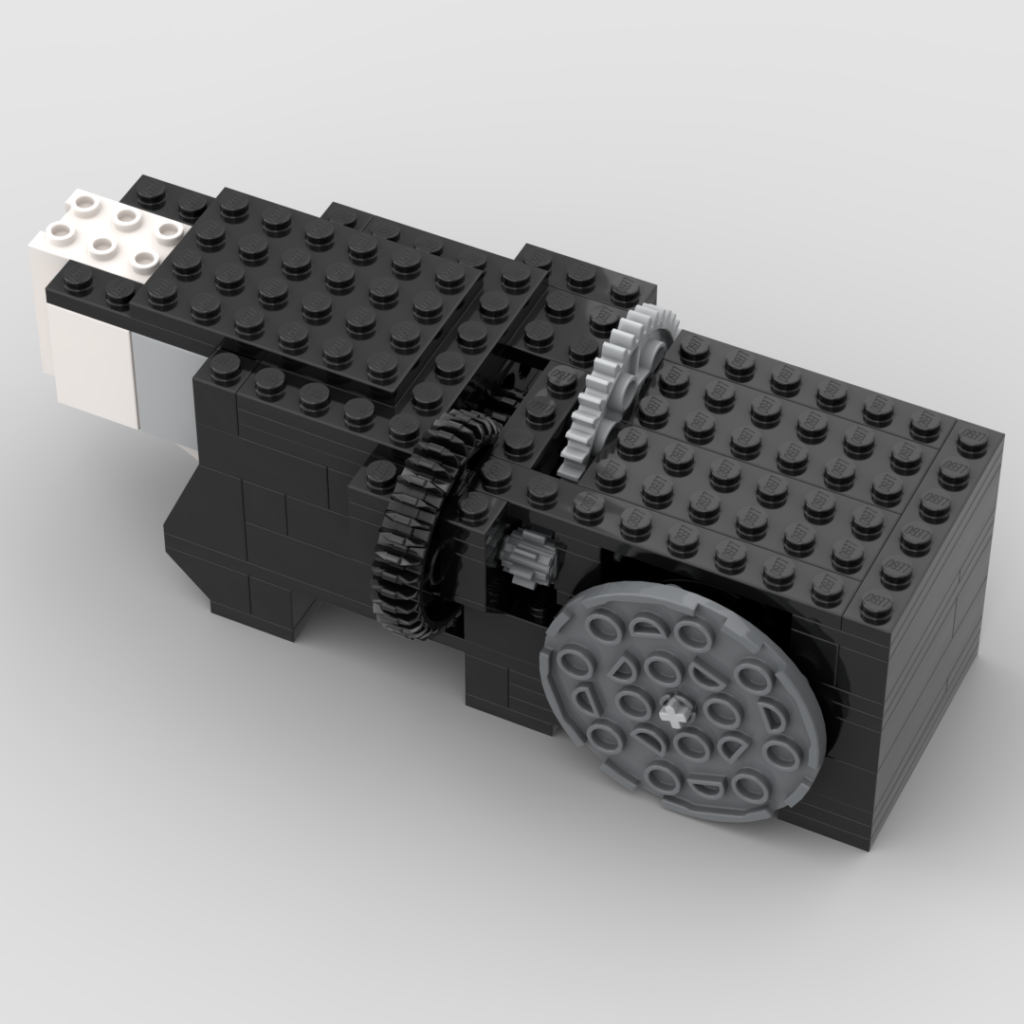
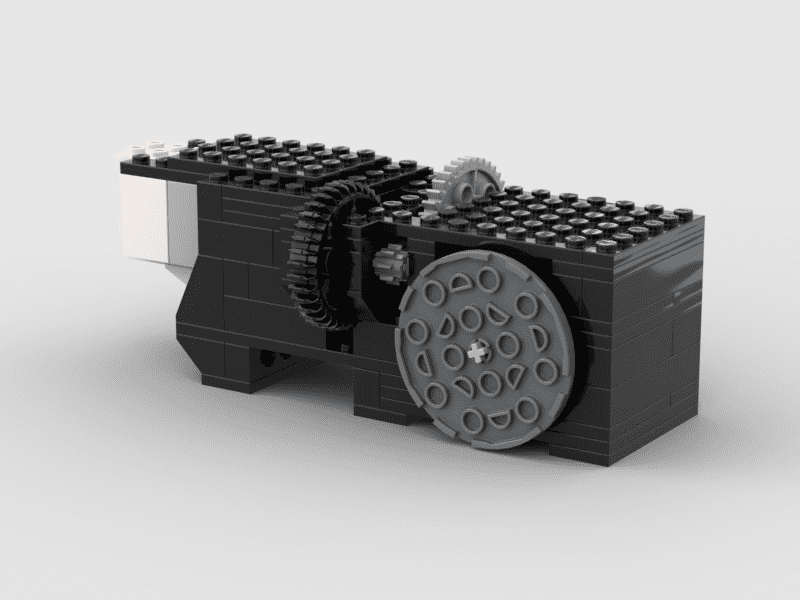
Here is a look at the overall structure in Studio.

I was able to do a little load testing with this design using some weighted objects. Yeah, I’m not ready to attach my camera to anything yet. And it’s for good reason too!
Verdict? This design is also not going to work. This was a big step forward though and there are a lot of positive developments to take away.
First, the axle rigidity was dramatically improved, but it’s still not quite where I need it to be under load. What I didn’t count on was the lack of sheer stability along the length of the axle. So while I was much better rotationally, I had weakness along the length of the axle moving from side to side.
Second, while the cradle approach seemed, in theory, to work great, with loads attached there was far too much friction which, well, wouldn’t have ended well. But I’m going to stick with this concept for now. I’ve seen enough to believe I’m on the right track.
So, I have two new problems to fix. How do I overcome sheer along my axis and how do I reduce the friction in the cradle?
Of course, I have some new ideas, stay tuned.
