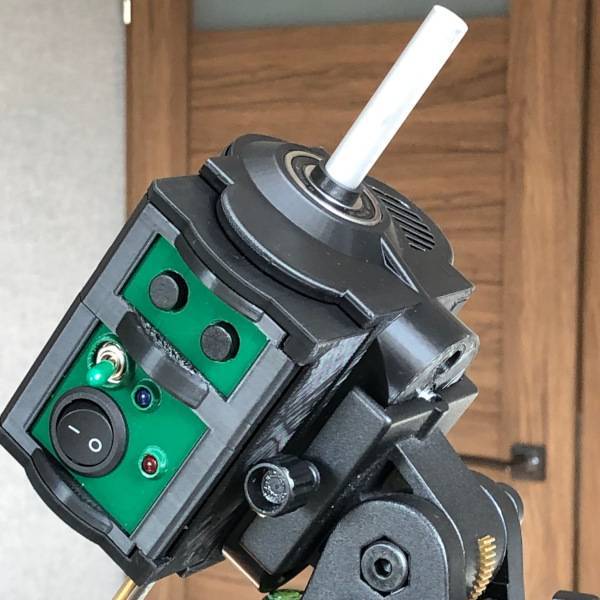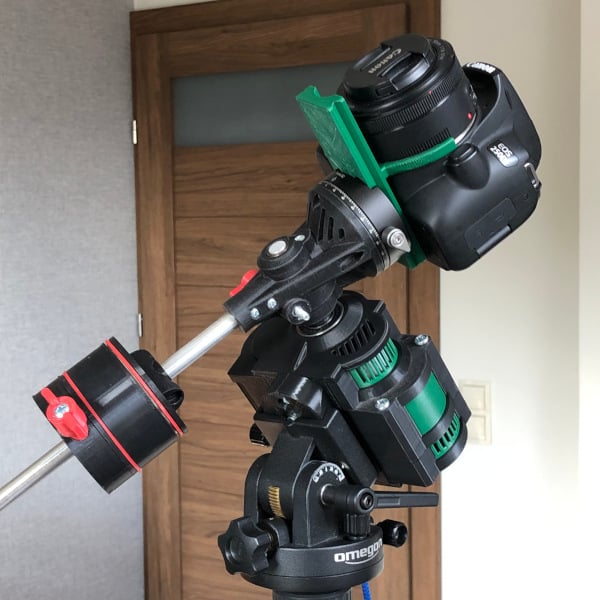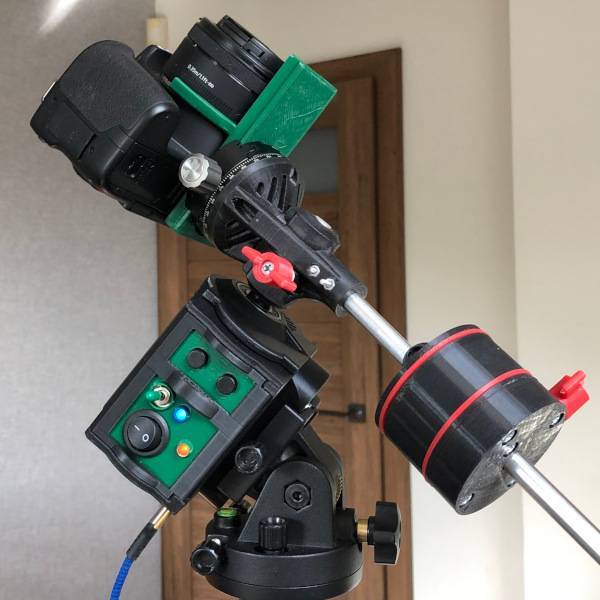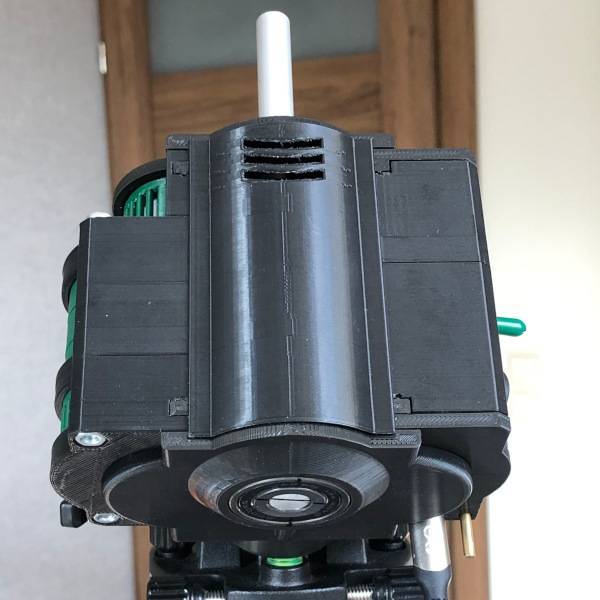
The weather lately has been downright awful. I’m seriously thinking I’m in the absolute worst location for astrophotography. It helps of course that I can use the downtime to keep working on my engineering projects. And lately, I’ve been chipping away at my DIY 3D-printed Star Tracker Gamma. The home stretch is always the hardest to finish. There’s something about standing on the precipice of completion that saps your will and desire to cross the finish line. But finally, I printed the last part, put everything together, and set the last screw. So without further ado; I am introducing Star Tracker Gamma.

| 
|

| 
|
What’s New With the Production Version of Gamma?
The Gamma test rig performed very well but it definitely had some issues that needed to be addressed in the final version. I decided to use a slightly different planetary gear ratio to ensure the gears meshed well. I also printed the gears with much tighter tolerances. Combined, these two updates took most of the backlash out of the gear train which should improve the tracker’s performance. I also added 2 momentary buttons that will allow for fine slew movement to give me a little more control over framing my target. And finally, I reworked the code to run using non-blocking commands. Using the hardware timer will yield more consistency in my step sequence leading to sharper photos.
Dry Run Adjustments
It’s always a little nerve-wracking when firing up a wired-up electronics project for the first time. One faulty wire can make the difference between a DIY success and a smoldering pile of melted goo. After turning Gamma on, everything seemed to be working fine which was good. But I noticed right away that the stepper motor was baking hot and dumping a lot of ozone. I hadn’t noticed this before with the test rig, but it did seem to make sense after thinking about it.
The stepper motor draws about 500mA per channel which means at any given time, I’m drawing between 500mA and 1A of current through the motor (the motor uses an 8-step sequence on 4 channels). This is because the motor will continue to draw current to hold its position while it waits for the next step sequence command. I really don’t want to leave the motor in a high current state so I just wrote a little code to shut it off after it moves. This shouldn’t be a problem because the gear reduction should make it difficult if not impossible to back-drive even when the motor is off. Besides, there won’t be a lot of torque on the output shaft anyway and I’m pretty sure the plastic gears would all blow up under stress long before the motor loses its position.
Well, I thought this would work but it didn’t… Turns out my power bank needs to supply a nominal current in order to stay on. Apparently, the Arduino Nano BLE Sense chip isn’t drawing enough current to do the job. Hmm. Ok. I modified the code to leave the current on for 1/3 of the duty cycle of the step sequence. That seems to work just fine. The motor is cool and there is a lot less ozone. Happy days for now until I see the photo evidence.
Time to Test
Introducing Star Tracker Gamma has been a long time coming. I can’t wait to get this outside to test. But Clear Outside is telling me not to hold my breath for at least the next week. Oh well. That gives me a little time to think about how I want to test Gamma. I’ve already decided that I’ll run the first test with the 50mm lens. Previous lessons learned tell me that this is a wise choice. I want to give myself the best chance for success on my first night out. I’m sure I’ll need to tweak the code a bit to get the timing right or something.
One more thing. As if introducing Star Tracker Gamma isn’t exciting enough, after I can verify that it works, I’ll post all the Free Cad files here. It’s a complicated project though, with roughly 35 printed parts. I’m sure with a little thinking I could probably whittle that down a bit, but I’ll be happy to share for those who are looking to get a head start on their own projects. Given all the non-printed components, I don’t expect you’ll be able to find all the same pieces that I used to build this from scratch. But you may be able to reuse some of the files to suit your own design. So keep an eye out for this in the near future.
