I almost feel embarrassed to write this post. With all the exciting things I’m working on with star tracker Beta, the top lid and Nano bracket are perhaps the most straightforward components in the design. I mean the components are interesting and necessary. But they aren’t as exciting as some of the other components like the counterweight and the camera mount. I’ll be bragging posting about those soon (they’re just really cool). But for today, I’m just going to cover these necessary additions to the Star Tracker Beta main housing assembly and call these components done.
Beta Top Lid
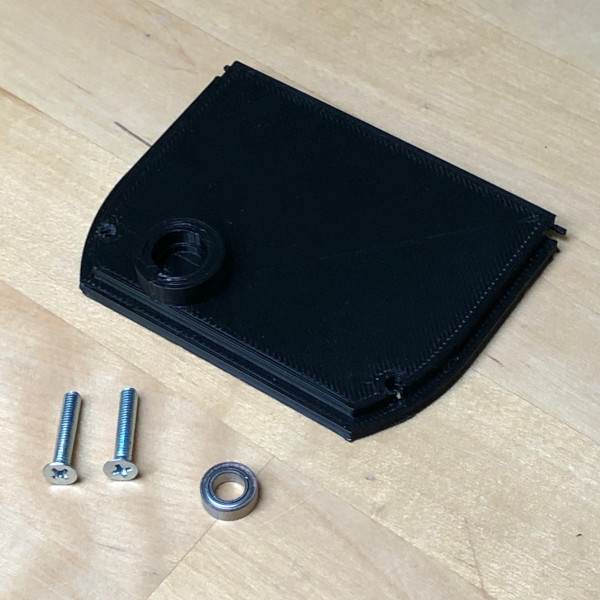
I mean it doesn’t get any more basic than this. The only tricky elements for this component are the considerations for the slide cover and the mount for the small bearing for the top of the combination gear. I’ll begin work on the slide cover after I finish the electronics. I’m not in any hurry to start that at the moment as I’ve got the electronics from Alpha which should carry me through the early testing. Here’s a look at the parts for Beta’s top lid.

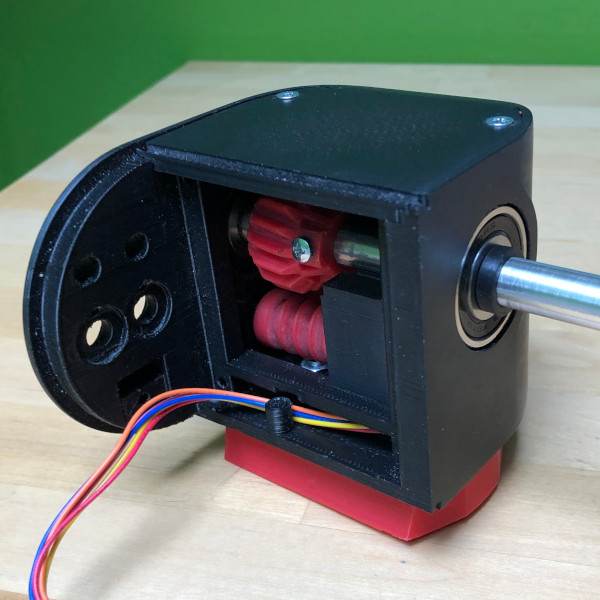
Pictured here are (2) M3 screws, (1) 5x9x3 ball bearing, and (1) 3D-printed top lid. There’s no need for detailed assembly instructions for this part. Simply press the 5x9x3 ball bearing into place and then line up the cap on the main housing assembly and secure it in place with the M3 screws. Below is a picture of the main housing assembly with the top lid attached.

Beta Nano Bracket
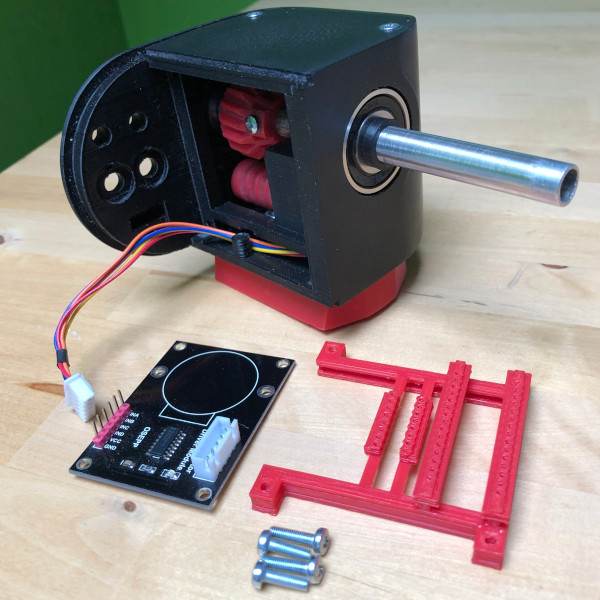
The Nano Bracket has two functions. First, it will hold the stepper motor driver board in place inside the star tracker. Second, it will seat the Nano 33 BLE Sense chip and the associated passive electronic components. I designed this to be as minimally permanent as possible. I want to be able to redesign the electronics as I grow with this project and that means – solder as little as possible! So most of the electronics will be press fit connections. Yes, I know it’s a bit risky, but I’m comfortable with this strategy. The worst case really is that if something doesn’t work, it will make debugging a little more difficult. I can live with that. Here’s a picture of the Nano bracket.

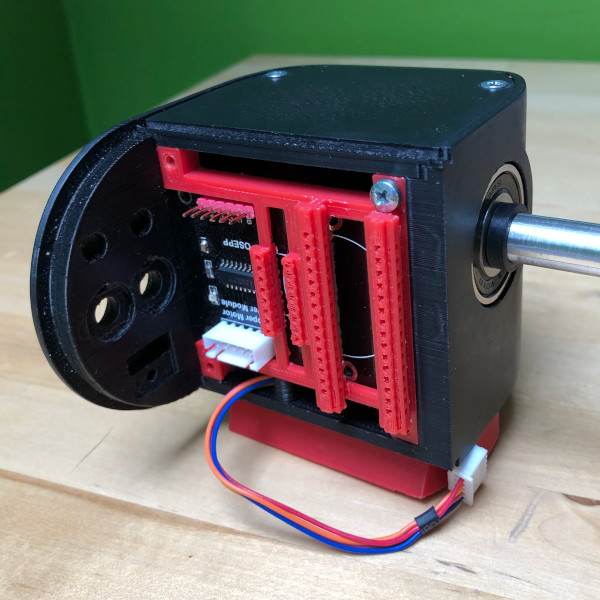
Pictured here are (1) 3D-printed Nano bracket, (4) M3 screws, (1) stepper motor driver board, and the star tracker main housing assembly. Similar to the top lid, the setup is pretty straightforward. Simply slide the driver board into the 3D-printed Nano bracket and secure it in place with the M3 screws. Below is a picture of the Nano bracket installed in the main housing assembly.

Just a quick note. Obviously, I won’t wire this all up while it’s screwed into the main housing assembly. When the time comes, I’ll take it off and wire everything up for the final version of Star Tracker Beta. That is the reason you only see one screw in the picture above.
Final Thoughts
Well, as I said, not much to write about regarding the top lid and Nano bracket components of Star Tracker Beta. But they’re necessary components and part of the overall design of Star Tracker Beta. In my next posts, I’m going to write about the counterbalance and camera mount. Lots of exciting things to talk about there. And even more exciting to think that I’m literally a whisker away from getting this thing outside to begin testing. I can’t wait!
