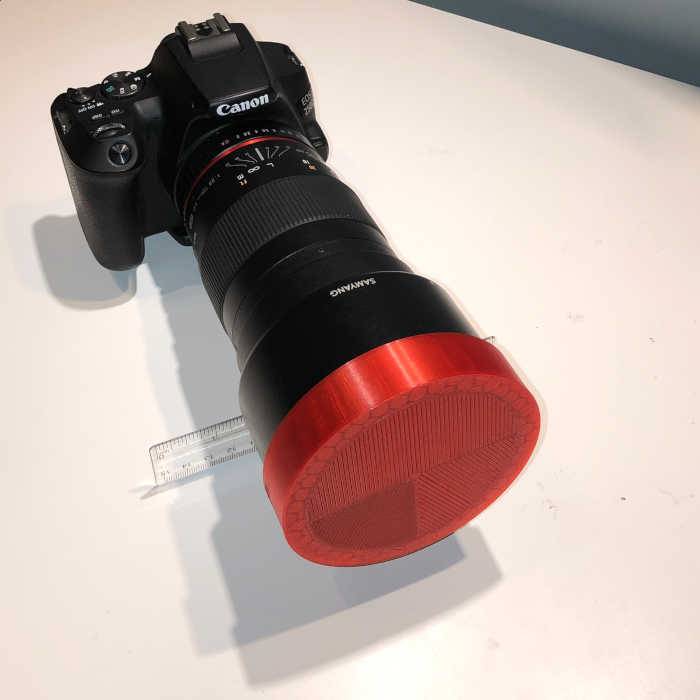
With all the downtime I have between imaging sessions, I’m really stretching to find productive things to do in the meantime. But since adding a 3D printer, I’ve started to experiment with different items to support my hobby. Focusing has always been a little tricky with the 135mm on my tripod. I’m hoping now for better results after printing a Bahtinov mask for my Samyang 135mm f/2 lens.
A Bahtinov mask is a tool for telescopes and photography lenses that creates a diffraction spike pattern used for focusing. When tuning the focus, the diffraction pattern will shift. By carefully centering the diffractions spikes you can achieve perfect focus with your lens. This will be especially helpful since the Samyang 135mm f/2 is a manual focus lens.
Printing a Bahtinov Mask for the Samyang 135mm f/2
I had every intention of using the various online tools available to design my own Bahtinov mask for the Samyang 135mm f/2. However, a quick internet search turned up a ready-to-print design on MakerBot Thingiverse. What to do? Well, I figured that I’d give the Thingiverse design by dakloifarwa a try. As I’ve never used a Bahtinov mask before, I don’t have much to lose. Besides, it’ll give me a little more information about the performance of the 3D printer.
After downloading the .lstl file, I sliced the design using FlashPrint. For this particular print, I decided not to print a raft. I did this because I was concerned that the fine detail of the Bahtinov mask might break when cutting the raft away. So I calibrated the bed to be level and kicked the print off.
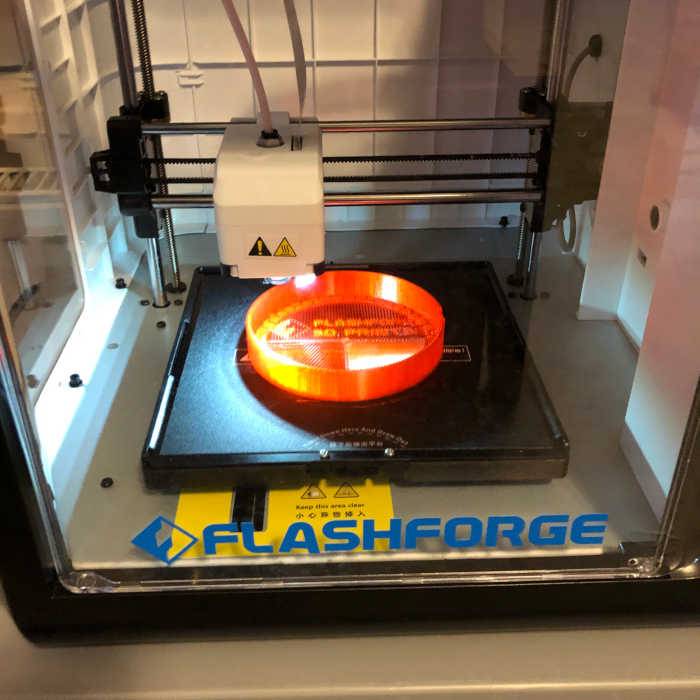
The print took just North of 3 hours to complete. After waiting for the print to cool, I easily popped it off the print bed. The first thing I did was test the fit with the Samyang lens hood and was pleased to see it fit like a glove. I then inspected the ribbing of the mask and saw it was all straight and clean. Everything looks good. I’m interested to see how this is going to perform once I can test it outside.
Testing the Bahtinov Mask
My local forecast was calling for mostly cloudy to scattered clouds throughout the evening tonight. I checked Clear Outside and saw that there might be a window of opportunity to test the mask this evening. It would be great to get out and test the Lego Star Tracker, but I need a more reliable weather window.
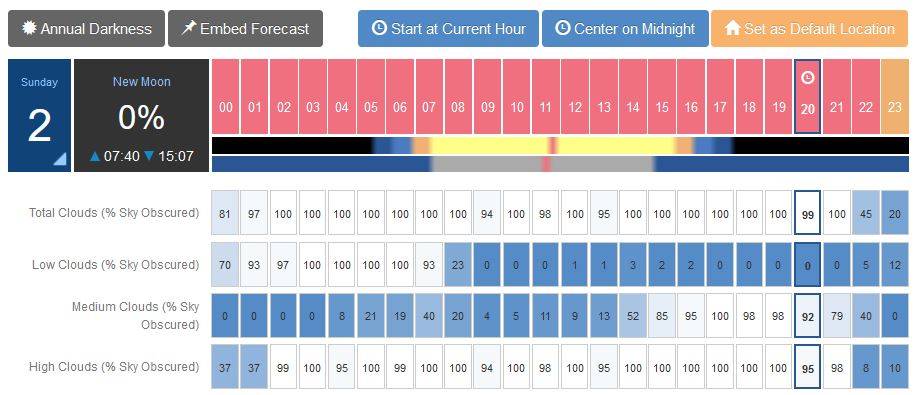
After poking my head outside I determined that there were enough breaks in the clouds to allow me to test the mask. Yippe! So I quickly set up and found a star in between the clouds which happened to be Aldebaran. Not the best star to use for focusing, but it’s a bright star that I could see. I only used the camera to dial in the focus. Normally, I’d use the computer where I’d benefit from a larger screen, but for tonight the camera view will be sufficient. Below is what the image looks like with the Bahtinov mask in action.
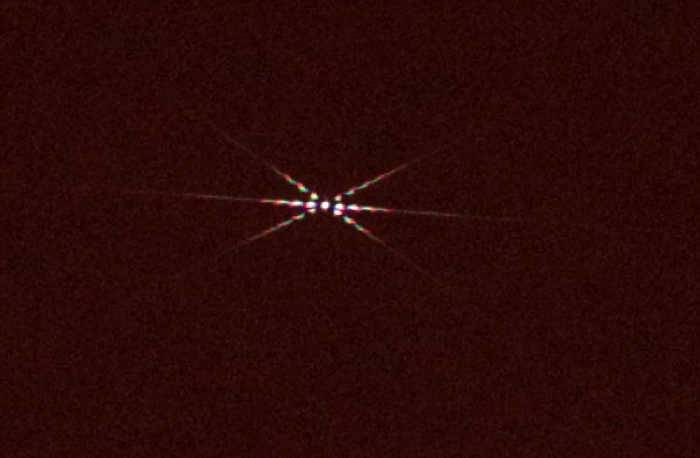
This was the best I could dial in the focus with the camera view. So I took a shot without the mask to see how the image looks. Notice the clouds…

Quite frankly, I was surprised at how sharp this photo turned out, conditions notwithstanding. You probably won’t be able to see that above, but there were so many stars in view in the photo. I couldn’t be happier with how well the mask worked and I know that I didn’t even have it dialed in perfectly. But this took so much of the guesswork out of focusing this lens.
If you’re wondering what the Bahtinov mask image looks like when it’s out of focus, below are two images that highlight under focus and over focus conditions respectively.
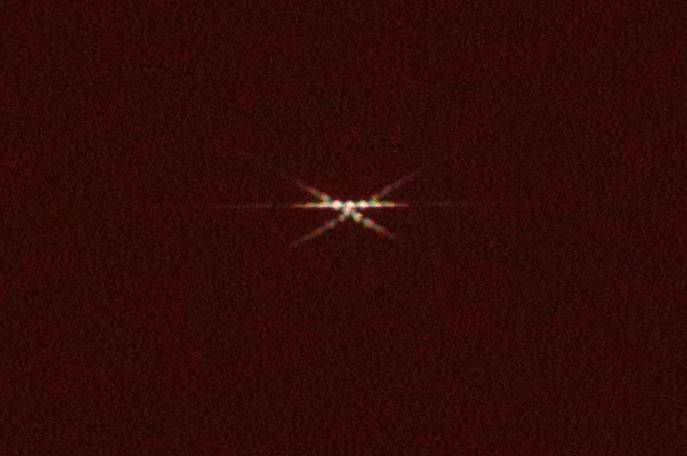 | 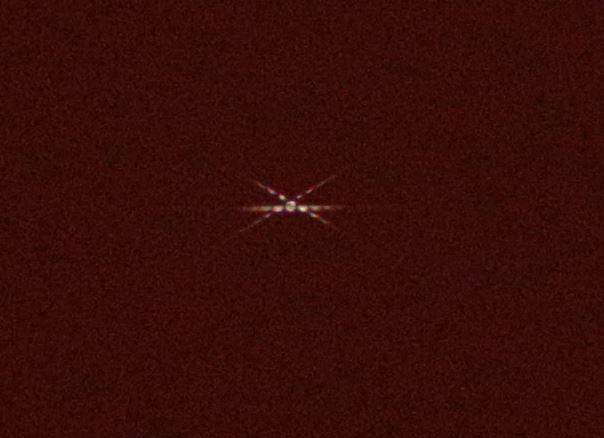 |
All in all, I spent about 15 minutes running this test. I’m really looking forward to getting out with this new tool to take some photos with my focus really dialed in. What a dilemma. Next time I go out, should I test the Lego Star Tracker or play with the Samyang again? Well, I guess I’ll cross that bridge when I get there, but go ahead and let me know what you want me to do.
