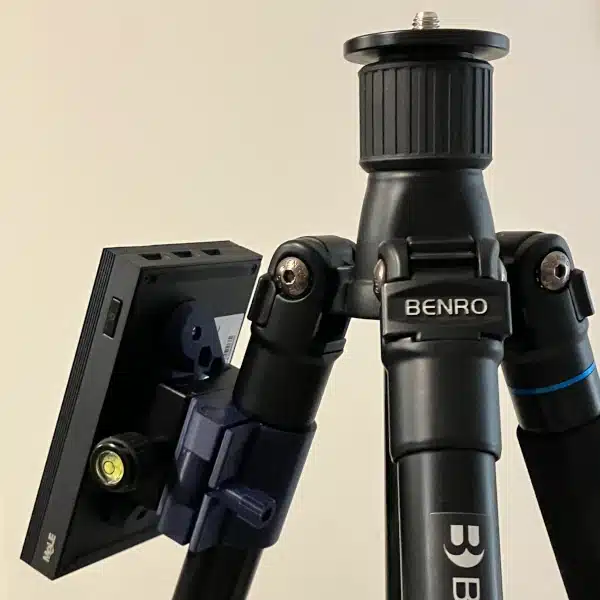
My wife has been wonderfully supportive of my astrophotography habit hobby and gifted me a Quieter 3C mini-PC for Christmas last year. Needless to say, I’m very happy with the new piece of equipment. I printed a new top rail for my Samyang 135mm lens collar to mount the PC. It worked really well but it added a lot of weight to my camera. Besides that, I didn’t like the fact that the mini-PC was semi-permanently attached to my lens. I felt I could come up with a better solution. So I created an Arca-Swiss tripod clamp mount for the Quieter 3C mini-PC.
A Little You-Tube Inspiration
At first, I was planning on adding an Arca-Swiss mount to my Samyang lens collar. Of course, this would allow me to remove the mini-PC when I was done imaging. But it did little to solve the weight problem. So I googled around and found a nifty little solution on You-Tube. User clearnightastro uploaded a video entitled “3D Printing and Installing a Tube Clamp to attach my MeLe Quieter Astro-PC to my Tripod” which looked to be just the kind of solution I was looking for.
The angle of this project that I really appreciated was the clamp-style tripod mount. But beyond this, I want to be able to quickly release my computer and operate the clamp without needing to bolt everything into place. I just so happened to have an extra Arca-Swiss mount kicking around so it seemed natural to mount this to a clamp that can be easily mounted to my Benro tripod leg. Cool, now I just need to design the whole system.
FreeCad-ing the Mounting Plate
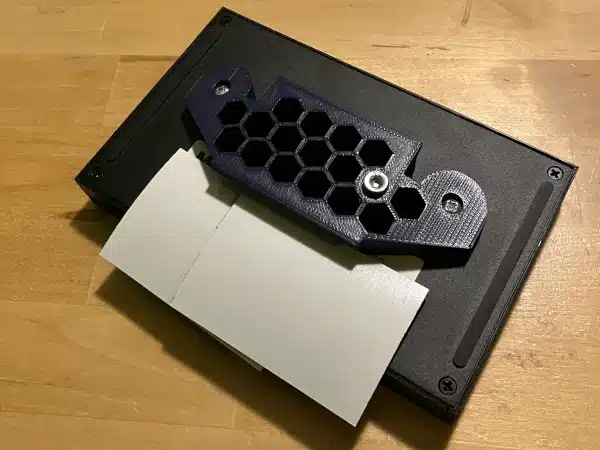
The first thing I wanted to do was design the mini-PC mount plate. Now the Quieter 3C mini-PC is going to get plenty warm while in use and that does raise some concerns with PLA-printed parts. Therefore, I want to ensure that there is a small air gap between the mount and mini-PC to allow for some air circulation. I can accomplish this by using a couple of rubber washers I found at my local hardware store. Additionally, I designed a honeycomb infill pattern for the mount to keep the part as open as possible. The mount will attach to the mini-PC using a couple of M3 screws. Finally, I added an appropriately sized Arca-Swiss plate. Below is the design for the mini-PC mount plate.
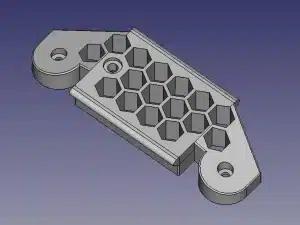
You’ll notice from the picture an additional screw hole in the design. I’m adding a round bolt to the top of the mounting plate as a stop to keep the mini-PC from falling through the Arca-Swiss mount. I know myself well enough to know this will probably happen at some time when I’m attaching or removing the mini-PC.
The best thing about the mounting plate is that it can be used with any Arca-Swiss mount. So while I’m going to be clamping this to my tripod, you can load this anywhere you have an Arca-Swiss mount.
Designing the Tube Clamp
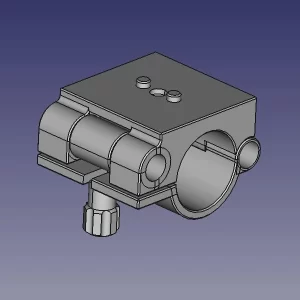
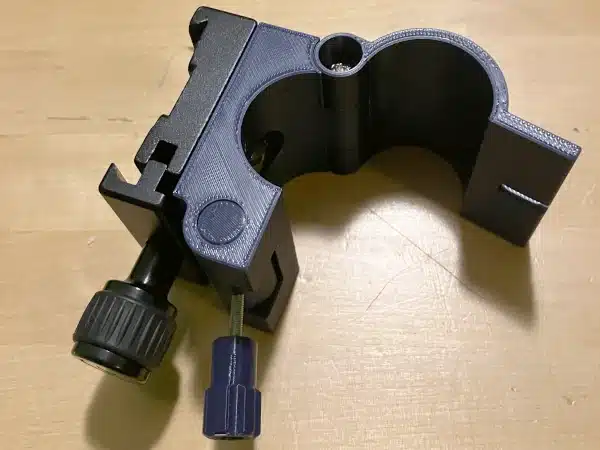
I wanted to design the tube clamp with a clasp-like latch. This was really my only design requirement for this part. There is nothing worse than being out in the field and realizing you don’t have a screwdriver to tighten something up. No worries there when you just need to finger-tighten a slide-over knob. I took careful dimensions of my tripod leg and the Arca-Swiss mount and whipped up a quick design as shown to the left. Five printed parts were all that the clamp required. I would say it took about 3.5 hours to print all the clamp pieces. Of course, I needed a little extra hardware to put it all together and a couple of foam pads to keep from scratching up the tripod legs as shown below.
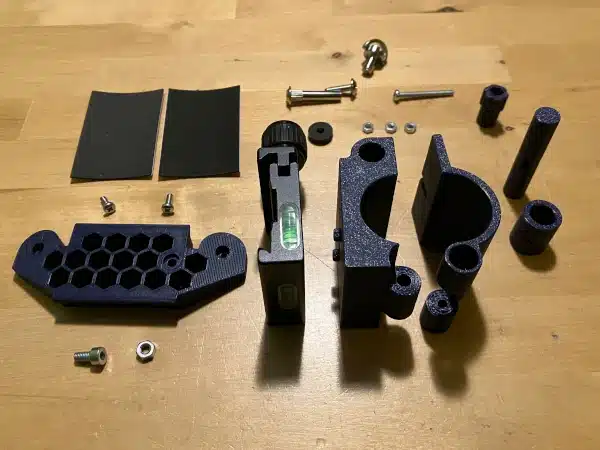 |  |  |
Below you can see the full project attached to my Benro tripod. Everything fits together perfectly and now I have a solution that allows me to quickly remove the computer from my rig whenever I want.

I’ll load up the stl files on Thingiverse soon. I just have to finish preparing the files for folks to download. I’m also looking at creating another clamp to manage the cables coming down from the camera. But aside from that, all I need now are some clear skies :).
