I’m not about to let the recent string of cloudy nights get me down. Instead, I’m just going to keep designing and printing the items I need to get the most out of every opportunity I’ll have. During my most recent imaging test with the star tracker, I noticed a couple of problems. First, the ring system that I designed for the Samyang 135mm f/2 lens didn’t give me the access I needed to the lens itself and was a little tight. Second, I’ve got some serious problems with my cabling when I get everything hooked up. So, since I can’t be outside, I decided to focus on some 3D-printed astrophotography add-ons and upgrades.
Quick Update on Version 2 of the 3D-Printed Star Tracker
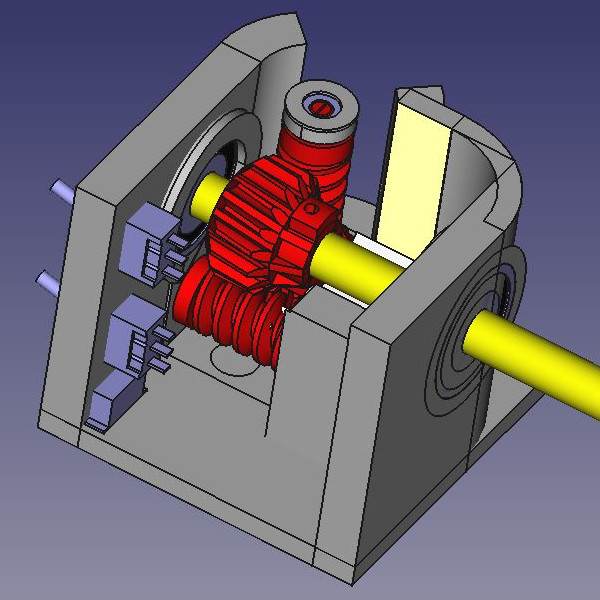
Before I get into my latest whacky projects, I thought I’d give an update on my progress for the next version of the 3D-printed star tracker. It’s coming along, but I’ve hit a couple of snags in my design. I want this to be a fully encapsulated design with a minimal profile. I’ve got all the gearing done, but I’m having problems with designing the housing. I have the basic idea of what I want to do, but I’m struggling with getting everything to fit nicely in a way that I’ll actually be able to assemble it when the time comes. Nothing worse than having a bunch of real slick-looking parts that you physically can’t put together.

I’m also thinking about how I can modify the boom which will hold the camera. I’m looking to design a system that will allow me to freely rotate while I’m polar aligning and framing my shots without having to screw down onto the main shaft. The aluminum shaft I’m using is just a little too soft and it getting wicked torn up from the weight of the rig. So I need to find a better solution moving forward. Maybe a friction lock system? We’ll see.
On to the Add-Ons and Upgrades
I love problems. Call me a sucker for punishment. But problems require solutions and solving problems is where the real fun of any project happens. So I have two problems at the moment. I need to redesign the rings and add a little more clearance to the lens. And then I need to build a wire harness for my dew heater. Seems pretty straightforward.
Ring Adjustments
When designing 3D-printed astrophotography add-ons, there are a number of things to keep in mind. First, the designs need to be sturdy enough to keep the system stable. An unstable system will result in poor results 100% of the time. The next consideration is functionality. The design needs to be simple yet functional so you can operate the device in the dark without having to worry about screwing anything up. The first ring system that I developed was certainly sturdy. But it wasn’t very functional. Fortunately, there are easy fixes to the issues I was having.

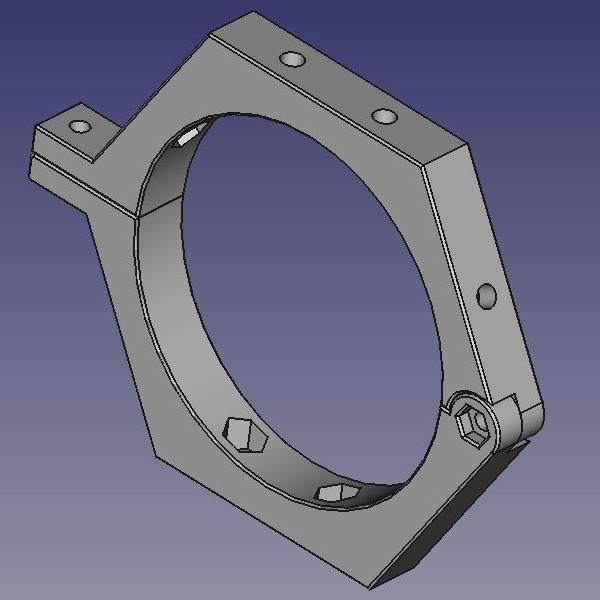
First, I opened up the ring diameter just a smidge. Originally I designed the inner and outer ring diameters at 70.5mm and 80.5mm respectively. This fit like a glove on the lens, but I wanted to add a small strip of foam to provide both a little cushioning and a bit of friction. When I added the foam strips, the diameter was just a little too narrow. So I opened up the diameter of the new rings to 72mm and 82mm respectively. At first, I thought this might be a little too wide. But after assembling all the pieces, it all fit just right. Not too tight, not too loose. Cross that one off the list.
Second, on the inner ring, I wanted to add a groove on the outside face that butts up against the focus ring. This way, there will be no contact between the ring and the focuser. A small little 1.5mm x 2mm groove worked just fine. My OCD says that I can make this a bit smaller. But my patience says it’s not worth waiting another 3 hours to print a new ring. Strike this one off the list too!
Finally, I printed a new top plate that would rise to give an additional 5mm of clearance to the lens. Honestly, that’s all I really need. When I mounted the dew heater in the first ring system, it just barely fit and rubbed against the top cap. This isn’t a terrible problem, but it made focusing the lens just a little bit trickier. So the additional 5mm solves this problem. And that’s that for the ring system! Whoohoo, on a roll!
Dew Heater Wire Harness
So why are dangling cords a problem? Glad you asked. First, in the dark, you can’t see the blasted things which means you’re prone to get tangled up. This could pull your rig out of alignment or worse, topple the whole setup! Second, if there is a breeze, these little monsters act like boat sails flapping all over the place. Definitely not good for your photos. And Third, running cords just takes time. Time I’d rather be spending imaging.
At first, I was thinking of just printing a loop so that I could wind the dew heater cord around and take up the slack. But that’s too easy… I decided to go full integration here. Let’s go ahead and mount the powerbank on the ring system so I can pre-install the whole feature on the lens before going outside.

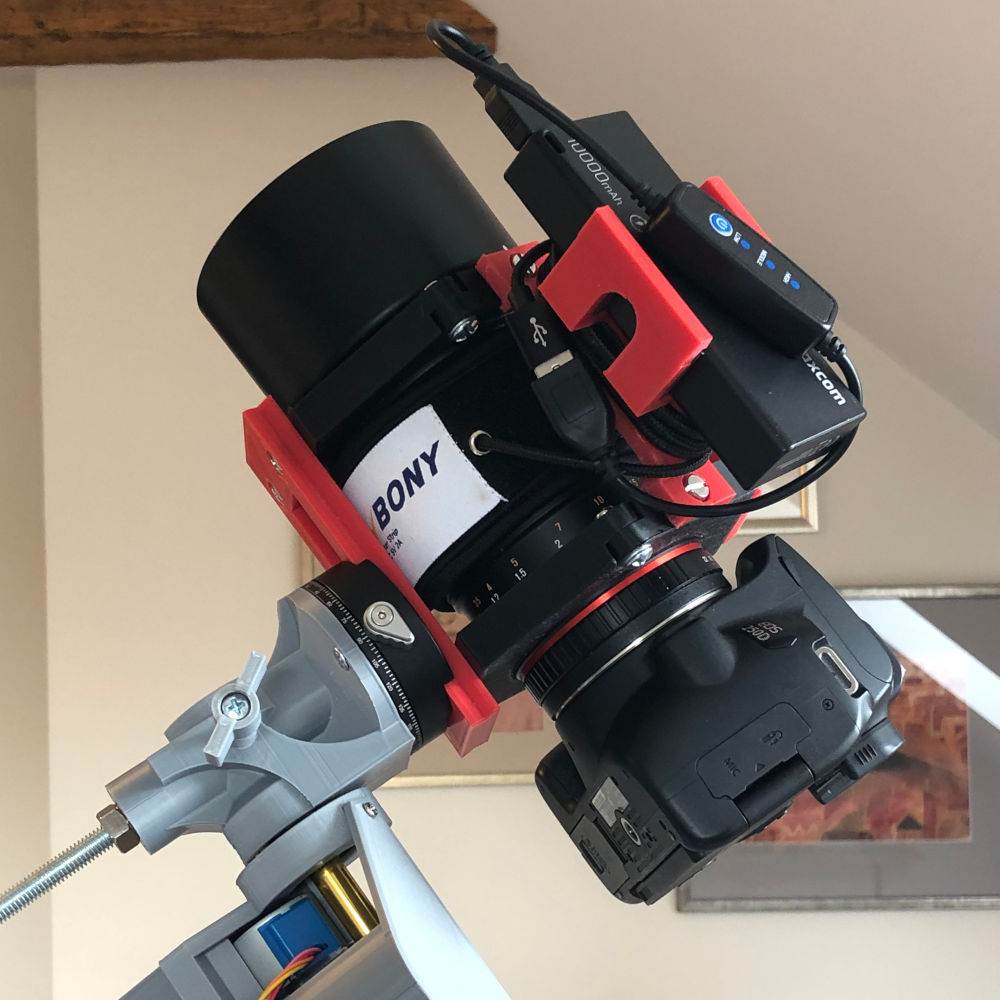
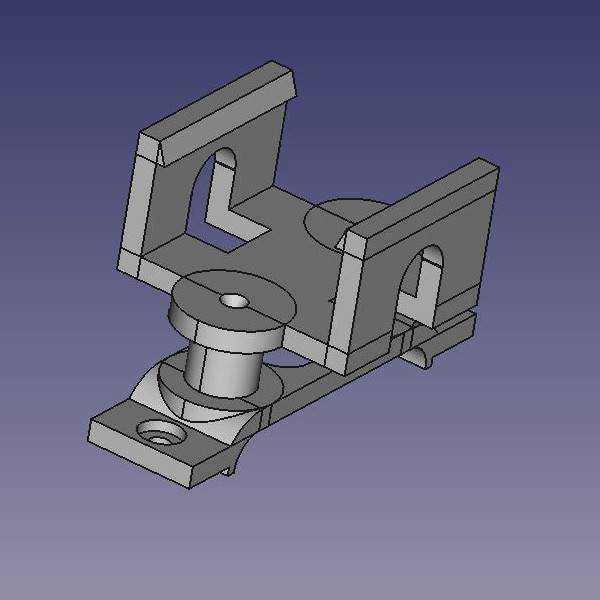
So that’s what I’ve done. The basic idea is to have my wire harness just above the lens and then be able to snap the powerbank down into place. I printed this in 2 pieces to keep the printing simple. And after finishing the printing, I’m kinda …meh… about the design. I can do better, but functionality is more important at this stage. This will work.
I’m glad I had the foresight to include mounting screws on the lens rings as attaching the dew heater powerbank harness was effortless. But that’s not to say all is well. The powerbank isn’t exactly a feather, so I’m adding another couple hundred grams or so to the rig. But I won’t know what the added weight impact will be until I can get outside again.
Putting Everything Together
So after getting all the 3D-printed astrophotography upgrades and add-ons done, I put it all together. Now, I don’t want to brag, but this is looking pretty slick. This is a significant improvement to the old ring system that I was using and I’m really looking forward to getting outside.

And that’s the fruit of a couple of days of work. I have a few more ideas for improvements, but I’m just going to take it one step at a time. Next up will be to start testing!
