Lego Star Tracker Frustration
I thought I was standing on the precipice of greatness. The reality is I was just being served a big ole slice of humble pie. I made a couple of minor design tweaks which I was expecting to deliver outstanding performance. Testing, however, showed me I greatly overestimated my improvements. In fact, my performance seems to have digressed a bit. That simply adds to my frustration with my DIY star tracker.
I had a run of OK nights weather-wise and wanted to head out into the backyard to run some more tracking tests. I’ll break down the details below, but spoiler alert – I’m a bit stuck at the moment. I think I know what I need to do, just not sure how I’m going to be able to do it. That doesn’t mean I’m giving up, but rather gearing up for another likely major overhaul.
Test 2 – 10/21/2021
It was nearly a full moon and it was blustery. I knew the deck was stacked against me but once again, I just wanted to test my tracking ability.
I really struggled polar aligning this evening. The altitude adjustment is a bit sticky and when it binds it is really hard to dial in. Couple that with the fact that I’m attempting to look through a non-illuminated finder scope that is poorly mounted to the rig while practically on my knees in the wet grass – Point is, it’s no fun at all trying to get things aligned. I need to think about doing something about this.
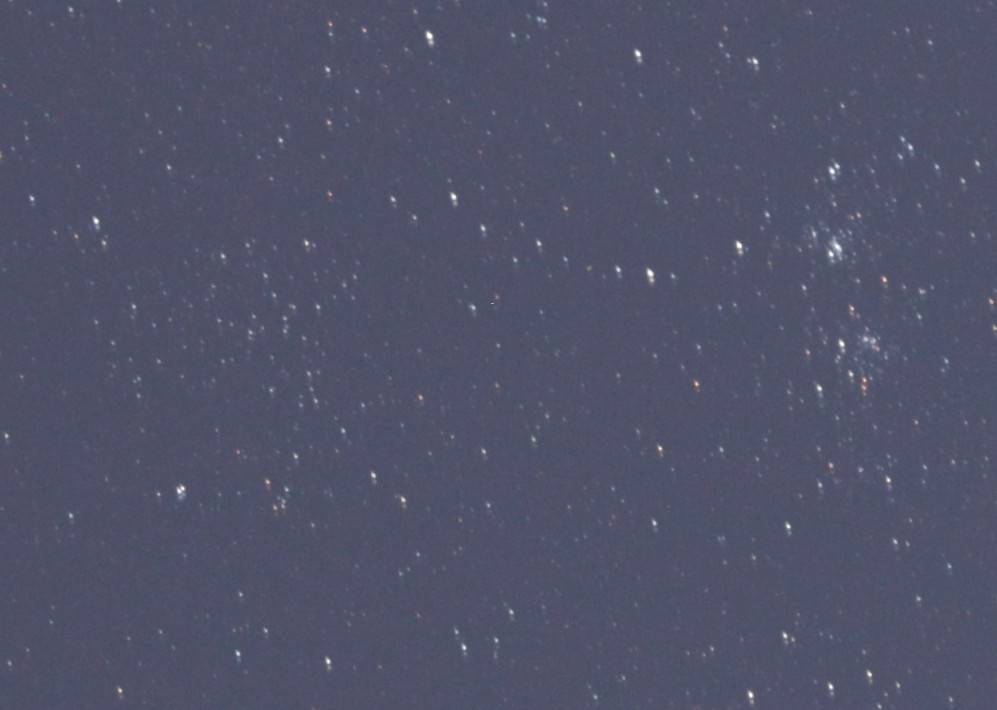
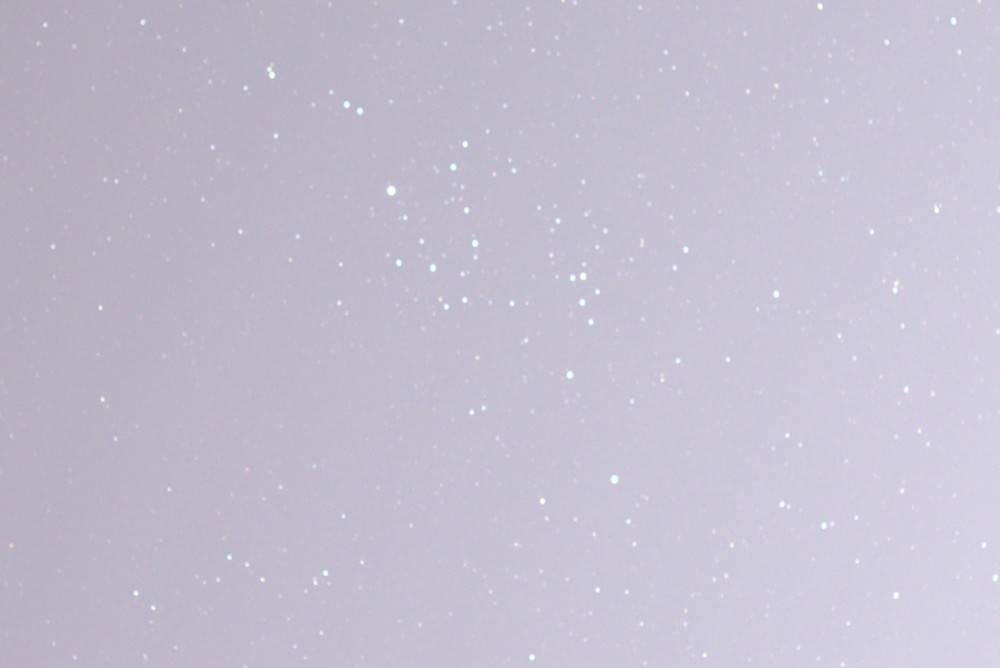
Needless to say, there was a lot of in-situ fiddling to get even a few decent shots at 60 seconds. The wind isn’t helping, but there seemed to be some positions of the worm gear where I would actually lose drive of the arm. This was due to having the worm gear slightly offset from the 24-tooth output gear. That’s something I think I can fix. Anyway, here is a shot right out of the camera just right of the Heart and Soul Nebula region. Yeah, nothing spectacular.

What I really don’t like about these photos is that you can see a trace of mechanical vibration in the system when the gears are moving. This tells me there is just far too much slop in the system.
Test 3 – 10/23/2021
Conditions weren’t a heck of a lot better, but I’ve made a major improvement that I want to test. Instead of using the small 2-brick wide worm gear, I switched to one 1-brick wide worm gear. This is a bit taller than the 2-brick wide version and the thinking is that it will keep better contact with the output gears.
It fits, and yes, there is much better contact. BUT, it’s way tighter. Too soon to tell if it’s too tight.
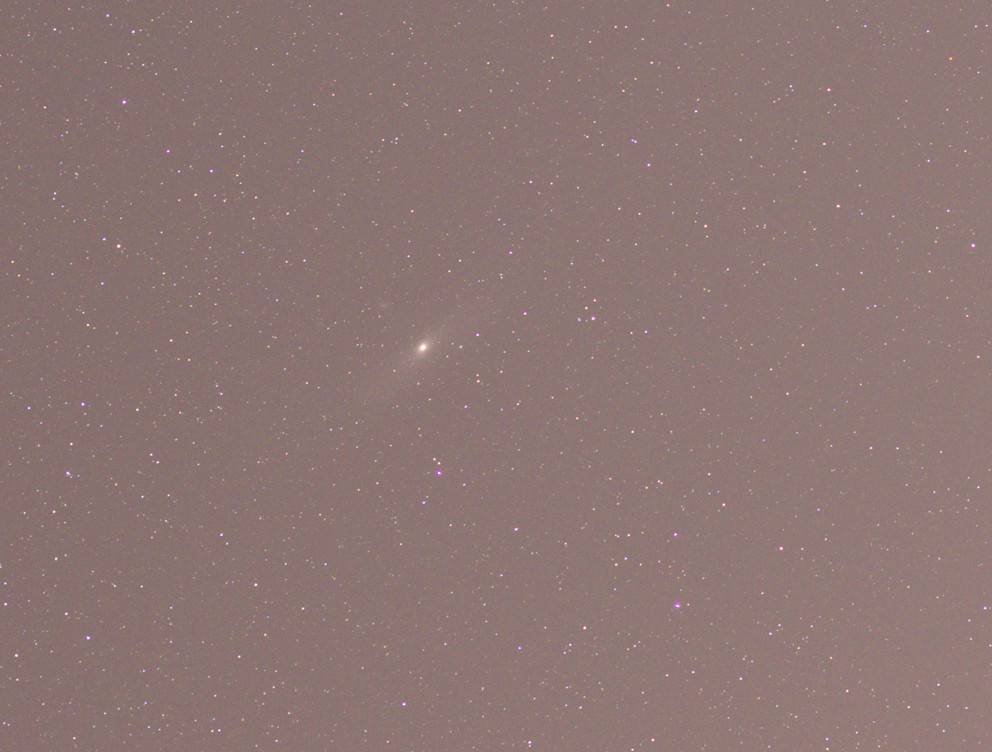
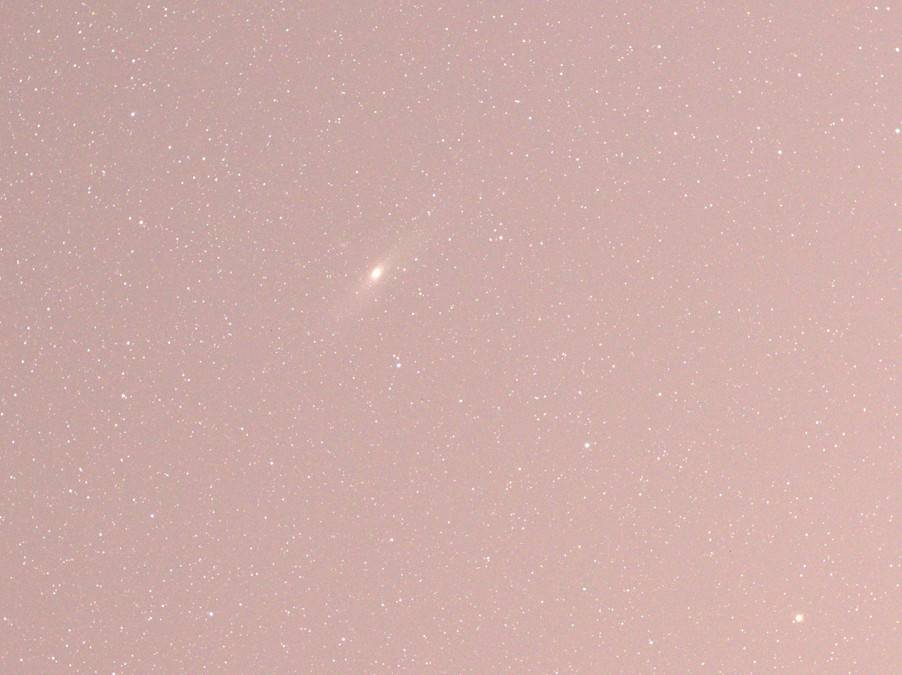
Polar alignment went a little better this evening but is still turning out to be a very un-fun chore that takes me the better part of an hour to dial in. Talk about frustration, I did get some nice pictures this evening with the star tracker but my keep vs reject ratio of photos is still way beyond acceptable.
I think I really need to redo the base to finally get rid of the stickiness of the adjustment knob. I’ll work that up before the next test.

Test 4 – 10/29/2021
I’ve redone the entire base to hinge at the base and I’m using the linear actuator to directly drive the altitude of the rig. This is a big improvement and it’s so much easier to adjust.
It was my thinking that my polar alignment has been holding me back but after tonight’s test, I’m not sure that is entirely the case. My polar alignment seems to be drifting while I’m shooting. While my new base improvement has made it easier to achieve polar alignment, there seems to have been a trade-off with stability.
During shooting, the entire rig will ever-so-slightly tilt as the weight of the camera and the counterbalance shift. The net effect of this is that I need to readjust for this every 10 minutes or so. That’s not going to be sustainable. But I’m also not convinced this is my entire problem. I think I might also be binding a bit on the worm gear given how tight it is. I’ll make a small mod here first before I totally redesign the base.

Test 5 – 10/30/2021
I’ve offset the worm gear just a little bit on it’s axle to hopefully reintroduce a little bit of play in the output. It’s still pretty tight, but noticeably easier to rotate. So with this change, I got everything set up and ready to go. I absolutely nailed the polar alignment – I used a new strategy that appears to work very well which I’ll detail another time.
As for my results. Well … All my worst fears have been confirmed and I have two major issues to fix. First, yes, the base will flex under the stress of the whole mechanism and when it’s only making contact at one point on the base of the tracker, it will inherently be unstable. Dang it.
Second, it’s clear to me that the worm gear is definitely binding on the output gear. I’m going to have to go back to the smaller worm gear and I’ll have to address the slack via a different solution. I’m a bit bummed because I thought this was going to work. I suppose I could add a drop of oil to the gears and that might do the trick, but nah, I’m not ready to do that. Once you start down that path, it’ll get messy. I might get there at some point, but not right now.

Final Thoughts on the Lego Star Tracker Version 5
I need to remind myself that this tracker does in fact work. So in that sense I need to appreciate how far I’ve come in this journey thus far. It just doesn’t work as well as I’d like it to. And certainly not well enough to take a couple of hours’ worth of tracked photos. I need to get better performance out of my design before using this seriously (which is what I want to do).
I’ll be honest. I’m a bit stuck at this point. I know the problems I need to fix, I’m just not sure how I’m going to fix them yet. First and foremost, I need to build a more secure base. Second, I need to think about how to better drive the output. Oh, and finally, I need to figure out how to adapt my polar alignment scope so I don’t have to get my knees wet or break my ankles every time I try to get set up.
Lots to do. Time to think about things.
