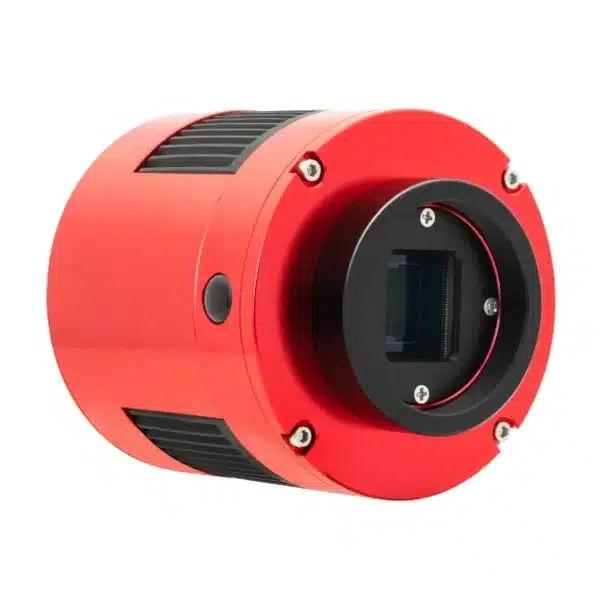
Admittedly, I’m a tough person to shop for. So when my family asked me what I wanted for my birthday, I told them I thought I was ready for a dedicated astrophotography camera. And well, they certainly delivered. I’m now the happy owner of a ZWO ASI183MC Pro camera. This represents a big step forward in my astrophotography journey. And this was the first of several big steps over the summer which I’ll leave for another time. But I’ve had the ASI183MC Pro camera for about 5 months and thought I’d share my experience with my first dedicated CMOS astrophotography camera.
The DSLR to CMOS Camera Transition
My initial concern was that there was going to be a big learning curve when switching from a DSLR to a CMOS camera. I was pleasantly surprised that this was not really the case. I attribute this more to my astrophotography process than the camera gear itself. I’ve been using N.I.N.A. for some time to manage my camera controls. So, I found the swap to be quite straightforward. In fact, I find using the CMOS camera to be easier than the DSLR from this vantage point. However, if you’re not using N.I.N.A. or other astrophotography software (SharpCap, APT, ASI, etc.), you’re going to find that using a CMOS camera is a whole new ballgame.
Obviously, the biggest change when switching from DSLR to a CMOS camera is the absence of any viewfinder or image screen. In order to see your images with CMOS cameras, you need to use external software. This obviously requires some kind of connection to a computer during your imaging session. I have been using Mele Quieter 3C mini computer since the beginning of the year that I attach to my tripod. The mini PC has all the astrophotography software I need loaded onto it. From there I can remote desktop in to this computer and manage my imaging sessions from anywhere. This is especially handy on cold nights! But the point is, when switching cameras you may need to significantly change your process as well. And this may require additional investments in equipment to support that process.
Get Your Pencils Sharpened
When making the switch from DSLR to CMOS, you’re going to be forced to do some technical learning. Gain, offset, cooling, photons, ADU, quantum efficiency, brightness, exposure – what’s all this stuff? Not to worry, you don’t have to figure it all out on your own. There are a wealth of videos, articles, and forums that you can find by simply searching that will help you wrap your head around the basics in no time. I think the single most valuable presentation that I’ve seen as a technical introduction to CMOS photography was this video here by Dr. Robin Glover. It’s deep, but it will really get you headed in the right direction.
Once I got the basics down, I found that I pretty much ride with the same camera settings outside of sub-exposure length. So if my settings are pretty consistent, why learn? Because at this point, it’s all about running the best photography session with the best images for my setup. As an example, I originally ran my sensor cooler to -10C – because colder is better, right? Well, I learned that there really wasn’t a noticeable image quality benefit between cooling to -10C versus 0C. So by setting my cooling to 0C, I more than halved my cooling power used (depends on ambient temperature of course). This means longer battery life which means longer imaging sessions which means more photos, etc. So there is a real value in learning how to set up your camera and why.
I think what surprised me the most was learning that longer exposures aren’t necessarily the best exposures. Optimally tuned exposures will yield better results than longer exposures without sacrificing any data.
If I Had to Do It Over
So I just kind of got right to it when I received this camera and was getting really good results. But having the benefit of experience and knowledge, I would have done one thing differently from the get-go. The first thing I would have done with my camera is run a SharpCap sensor analysis. This delivers an accurate characterization of your sensor’s read noise and dynamic range as a function of gain. This information can be used by programs like N.I.N.A. or SharpCap to help you calculate the optimum exposure times for your session conditions.
You can run the SharpCap sensor analysis with the free version of SharpCap. However, if you want to save or download this information to import into other software programs. Or, you can like me, just manually copy the sensor analysis output and enter the data manually into your software programs. SharpCap pro is very reasonably priced on a yearly subscription basis. I’ve purchased it in the past and will be doing so again soon.
I should mention that this is really only important to me due to the process I’m using. This is because I want to let the software help me determine what the optimal exposure settings should be. I use N.I.N.A.’s Optimal Exposure Calculator plugin which uses the sensor information to guide my exposure settings.
Show Me the Result!
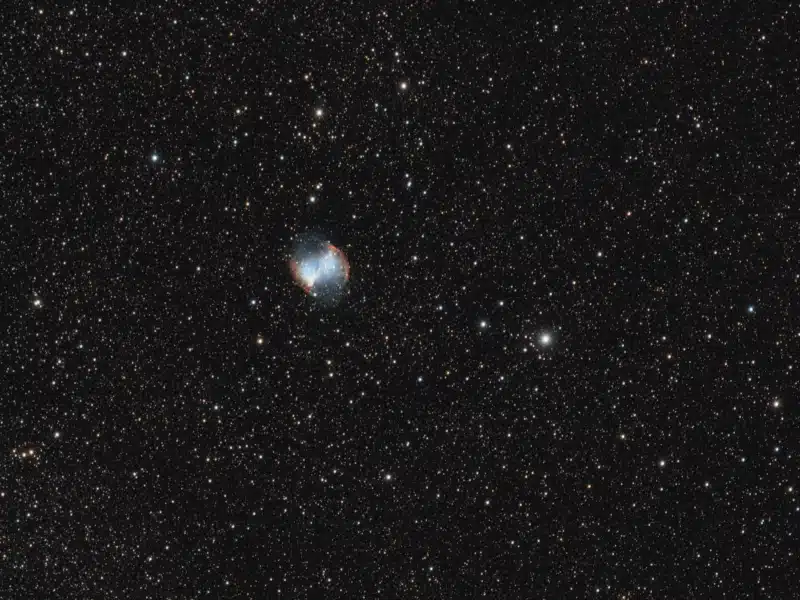
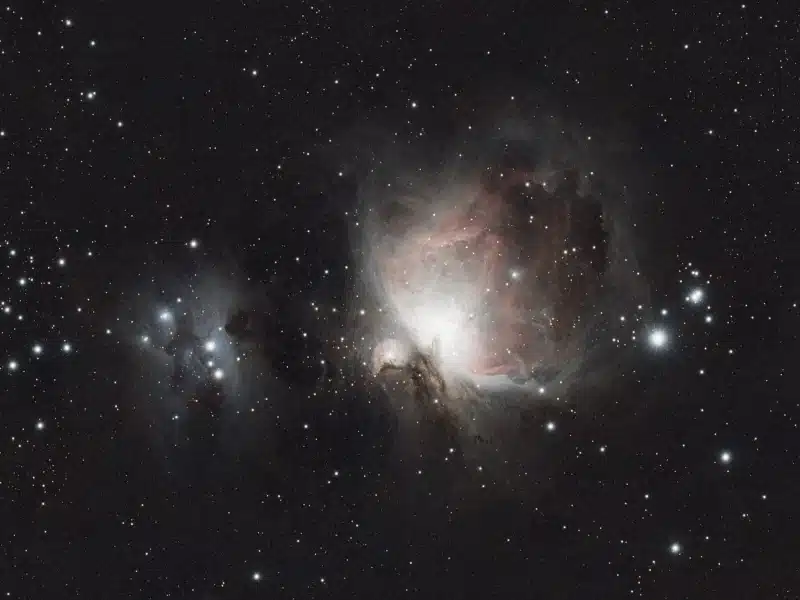
OK, here are a couple of photos I took recently of the Dumbbell Nebula (M27) and the Orion Nebula (M42).


Yes, after getting blanked last year with Orion, I managed to squeak out very early in the morning to grab a couple of hours of photo time. I hope there will be a lot more opportunities this winter, but we’ll have to wait and see what the fickle Polish weather has to say about that.
So I’m Done with DSLR, Right?
Ummm. Nope. I’m actually excited that I have 2 cameras now and will be working to get both set up on nights that allow. In fact, I’m still working on a 3d printed tracker and I think I’m getting close to having results I can share. It’s been quite a journey on that front filled with all kinds of twists and turns. Literally… But you’ll have to stay tuned to keep up with that project.
