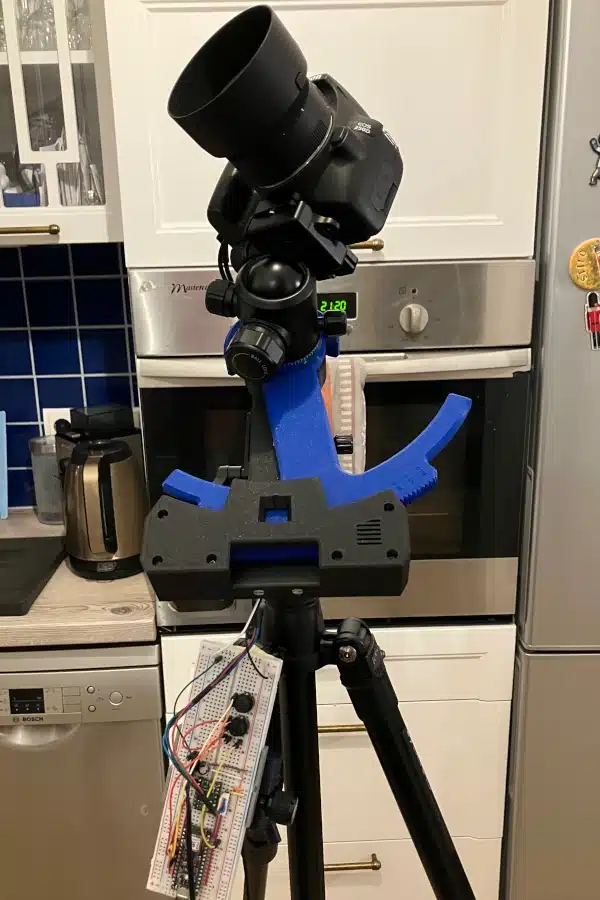
You just never know… As I left the house at 6PM to grocery shop with my youngest son, I looked up and saw something shocking – clear skies. Oh snap, come on son, we gotta get our shopping done quickly! While the conditions were far from ideal, they were certainly good enough to test my star tracker design with the Samyang 135mm lens. This is the big test. The one that is going to tell me whether I have a winner with this design, or if it’s back to the drawing board. So let’s get into it.
Nothing in Particular
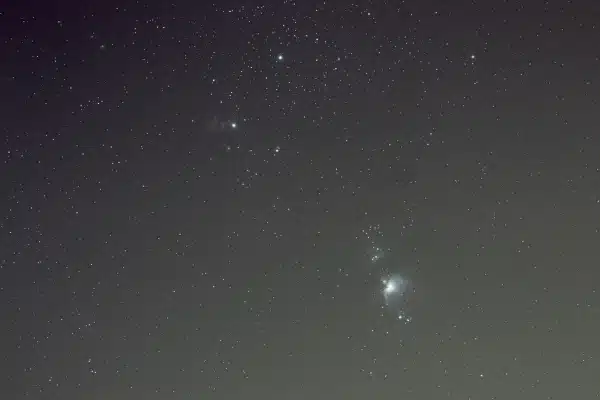
For this test, I don’t really care what I shoot. But Orion is sitting nicely above the ground-level haze, so why not? The most important criterion to test is the tracker timing with the added weight of the Samyang lens.
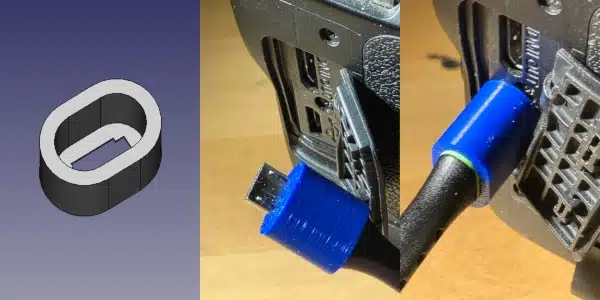
My second son and I got the camera focused and the tracker polar aligned. I set the camera to take 200 exposures at 24 seconds at F/4 and ISO of 1600. We only had one hitch to our setup which was very annoying. Over time, the micro USB port on my Canon 250 has become very loose. I did everything I could to tighten it up, but no joy. Every time the cable gets bumped or tugged, N.I.N.A. loses connection with the camera and we have to shut everything down and bring it back up to establish the connection again. Frustrating…
I noticed the USB cable connecting to my camera did not sit flush with the USB port – I can fix that! I carefully measured the USB cable and created a USB cable bracket in FreeCAD. The new bracket took about 10 minutes to print on my Bambu Lab P1S. Brilliant! I made this with very tight tolerances so I had to apply a little pressure to fit the bracket on the cable but it worked brilliantly. The bracket sits flush with the Canon 250D USB port, preventing the connector from wiggling around. A quick test shows that I can now handle the camera and gently tug on the USB cable without losing connection with the camera. Huh, such a simple little fix. Every USB cable is different, but you can create your own and just ensure that the bracket sits flush with the port.
135mm Tracker Test Results
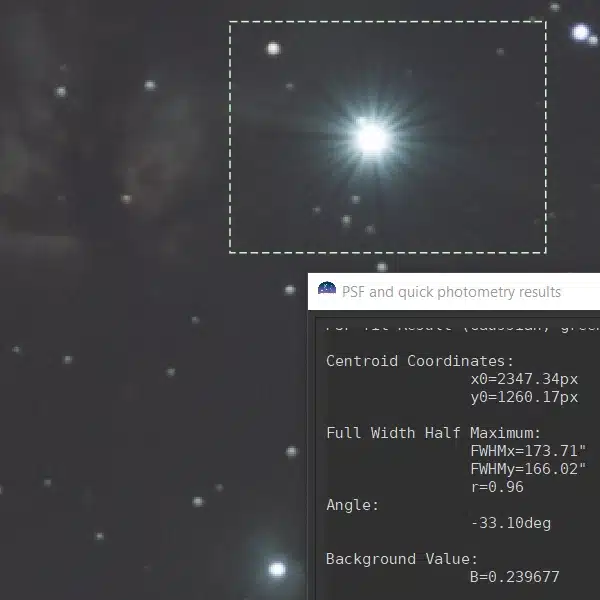
Let’s cut right to the chase. The tracker performed wonderfully with the 135mm lens. The timing was bang on and just like my test with the 50mm lens, the star roundness grouping was pretty tight. I’m not sure if I’m surprised by this or not. I had a pretty good feeling this was going to work. But it’s always nice to verify expectations. Below you’ll find the 200-exposure stacked image (autostretch only).
What is more evident in the 135mm test versus the 50mm test is that there is a noticeable periodic error in the output. Not really enough to mess with my photos at this focal length, but you’ll have to keep the exposure time reasonably short. This isn’t a problem from my light-polluted location as I mentioned in a previous post. The same principles apply regardless of whether you’re shooting with a DSLR or CMOS camera. However, you’ll have to focus on optimal exposure times as this tracker isn’t likely to give decent results with 60-plus-second exposures. If I have some time and the opportunity, I’ll look to characterize the periodic error in the future.
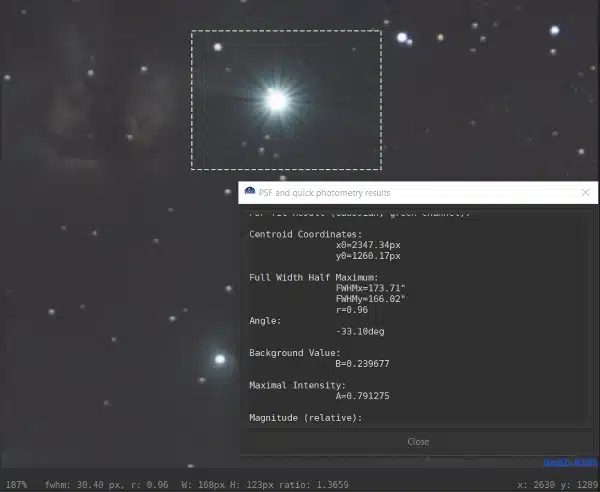
In the meantime, here’s a magnified image demonstrating the tracker performance on the image stack.
Just One More Thing…
OK Columbo, what is it? I mentioned in my last post that the tracker is backdrivable. Turns out this is going to be a problem. Without power to the stepper motor coils, the 50mm was not able to backdrive the tracker but the 135mm lens was. This is really due to the added weight of the 135mm lens. While this isn’t a problem while the tracker is operating, it is while you’re setting up or shutting down.
I designed the tracker with hard stops to prevent my gear from flying all willy-nilly. But this is an emergency consideration, not a practical one. I’m going to need to think about addressing this. I believe I have several options to tackle this but I’m going to ponder it a bit longer. Just something to keep in mind.
New Tracker Reveal
I’ve teased the new tracker design long enough. And with two successful tests under my belt, I’m willing to finally reveal the new tracker design. There is still a lot of work to do to finish this, but I’m confident that this design is going to stick and will be my service tracker with my DSLR camera moving forward. How cool that I’m at a point where I can run multiple setups now with my astrophotography gear! Wait, what? 🙂 In the meantime, enjoy the sneak peek of the new tracker design.
