Upon Further Review
The weather has been downright shoddy for astrophotography this month. So since I can’t be outside, I’m simply planning for my next time out. I’ve been very encouraged with the Lego Star Tracker version 6 results thus far, but I’ve been going over things to see where design improvements are still warranted.
My family has been very supportive of my new habit hobby thus far and went all out this Christmas in gifting me a 3d printer. So immediately, my mind raced in a million different directions as to what I can print to improve my craft. Needless to say, I have no shortages of ideas. But I want to focus in the short term on what I can print to aid my results with the Lego Star Tracker.
Pain Points
My two biggest pain points thus far with the Lego Star Tracker have been polar alignment and balance. I think I have a beat on polar alignment as I wrote in a previous post. But the balance issue requires a little more thinking. And this ties into my overall design process.
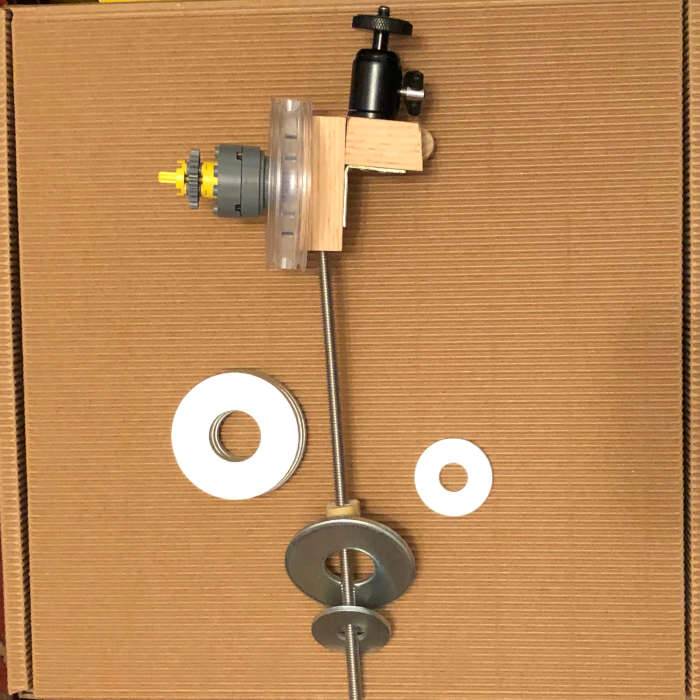
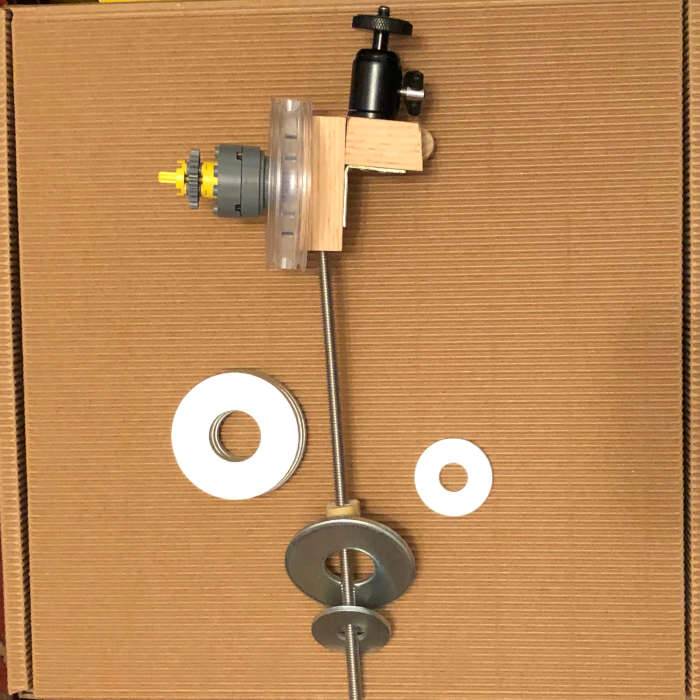
I recall that when I cobbled version 6 together, the plan was to ensure that it works and then improve the build quality. This was easy to do for the Lego pieces. But what about non-Lego pieces? Mind you, I don’t have many non-Lego elements. But I think it’s time to review these to ensure they’re optimized for performance. I have 4 primary non-Lego elements: the Manfrotto Mini Ball Head, the counterbalance, the extension rod for the counterbalance, and the bracket to connect these elements to the Lego structure.

Manfrotto Mini Ball Head
I don’t have much to say about the Manfrotto Mini Ball Head as it’s working brilliantly. It’s small and lightweight enough to deliver the performance that I need. I can perhaps add a little bit of clearance at the base of the ball head to make it easier to adjust, but this was never a major issue in my design. Needless to say, I’m not experiencing any quality issues with this element.
Counterbalance
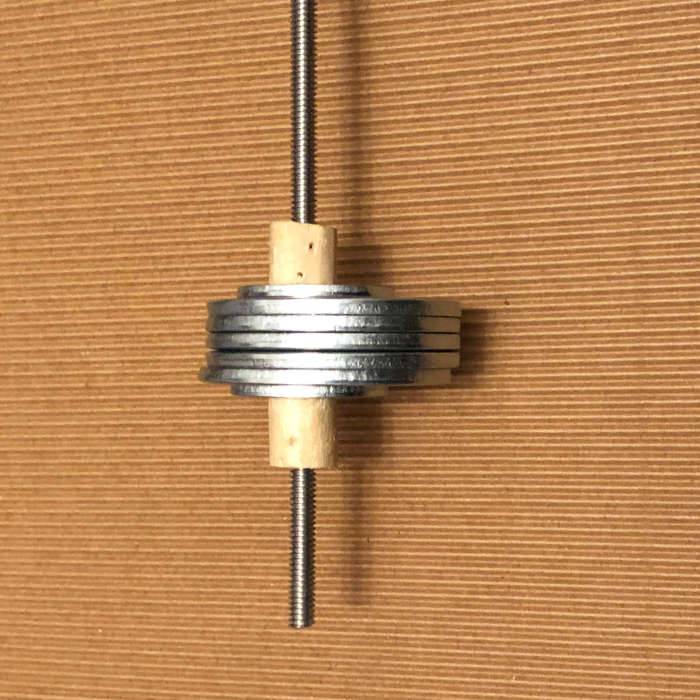
I’m using large steel washers to counterbalance the camera. I like this solution because it’s both cheap and easy to modify. I just add or subtract washers to change the weight of the counterbalance. But this hasn’t been a hassle-free solution. The diameter of the holes in the washers is significantly greater than the diameter of my threaded rod to hold them. This leads to the weight being free to shift a little when in use.
 |  |
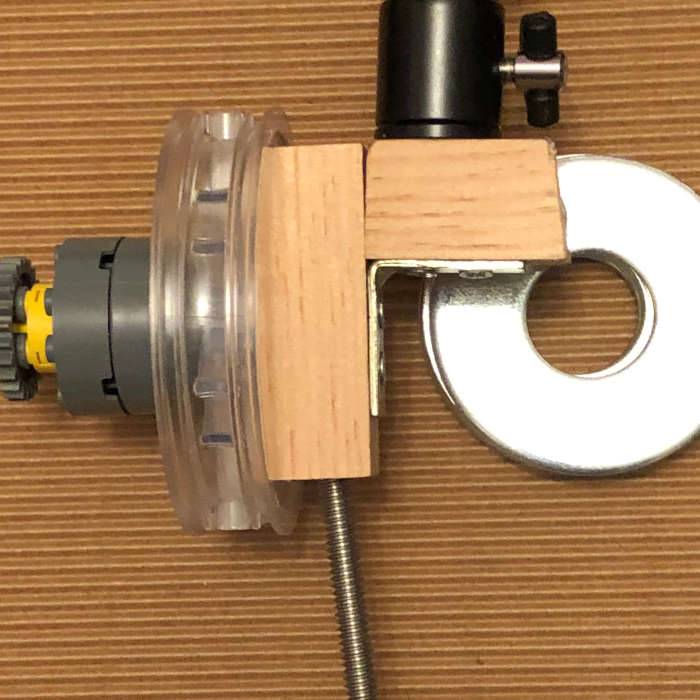
I was thinking I could sand down a dowel to fill the space inside the washer holes. This would certainly work but would require that I perfectly drill a hole through the center of the dowel to pass the threaded rod through. I can tell you I lack both the tools and steady hand to guarantee success with this approach. This is one reason I’ve been putting this off. And you can see just how terrible I am at doing this from the photo above. Notice how off-center the rod is coming out of the bracket!
This is a problem that I can fix with the 3d printer! I can design a simple spacer that eliminates the space in the washer holes and keeps the counterbalance rod perfectly centered. This also seems like a very easy 3d-printing project. I should mention that I don’t have any experience with 3d printers, so this is another skill I’ll need to learn. I think I’ll give this project a go and I’ll write about it in a future post.
Counterbalance Rod
I’m currently using a 1/4″-20 threaded rod as my counterweight rod. This works fine as my initial thought was that I’d pass this directly into the Manfrotto Mini Ball Head. The biggest problem I have with this element is that living in Poland, it’s nearly impossible to get 1/4″-20 bolts and such.
As I never connected the rod directly to the ball head, I’d probably be better off with an M6 threaded rod. I’ll be able to buy all the bolts and things I need locally, and the M6 rod would be lighter than the 1/4″-20 rod. It’s also slightly thinner at 6mm vs 6.35mm which I can also see as an advantage. I’m not sure I’ll make this change right now, but it’s something to seriously consider.
Bracket

Perhaps the least satisfying element of the Lego Star Tracker version 6, which makes it a prime target for improvements. I used an angle bracket to connect two wooden blocks together. I then drilled a very off-center hole through both blocks to accommodate the counterbalance rod. Continuing, I tapped a hole to hold the ball head so I could mount the camera. And finally, I attached this with screws and a couple of washers to the Lego wheel. Yep, it totally looks wonky.
But as I’ve been reflecting on the tracker, I can’t help but think that some of my balance issues can be traced directly to this element. The misalignment of the counterbalance rod certainly isn’t ideal. Additionally, the static position of the ball head will always handicap my balance alignment. I can actually see this when attaching my camera. When I test the position of the counterbalance, the whole element wants to rotate around the counterbalance rod. That’s stress in the system that I can certainly do without.
I think I’ll design a 3d printed bracket that squares everything up and allows me to adjust the ball head position. I’m currently thinking I might design some kind of dovetail rail on top to be able to slide the camera back and forth. We’ll see. I need to think a bit more about what would be best. And then I’ll need to learn how to design and print it.
Lego Star Tracker Improvements Conclusion
I definitely need to develop a better strategy around balancing my camera in the Lego Star Tracker. With the addition of a 3d printer to my available toolset, I’ll be able to fix some of the issues I have in this area due to my sloppy craftsmanship. As with everything, I plan to start simple and work my up and I look forward to writing more about my enhancements.
