I haven’t been out imaging in over a week and that’s not due to a lack of interest but rather an opportunity. The weather just doesn’t want to cooperate. Oh well, that gives me the time I need to keep focusing on Gamma. To say it’s been slow going would be an understatement of epic proportions. So what’s the problem you ask? Well, I think I have a design that will work, but I can’t seem to get it to print. The tolerances of the gears that I’m trying to print at the scale I’m trying to print them are extremely tight. And swizzling slicer settings just aren’t getting the job done. If I’m ever going to get things working, I’m going to have to rip my Adventurer 3 printer apart to fix and upgrade a few things.
That means for the time being I’ll just have to stick with imaging with Beta. It’s working out great with my 50mm lens. But as you know, my goal is to build a tracker that I can mount the Samyang 135mm lens.
Isolating Causes
As I’m having problems printing with precision and I’ve mostly ruled out any slicer issues, it’s time to focus on the printer itself. Let me begin by saying that I clean the nozzle regularly and grease the rails once or twice a week depending on how much printing I’m doing. So I’m pretty sure that the issues I’m having are not related to any of the components on which I perform regular maintenance. That narrows my search to three primary components; the print bed, the z-axis worm screw drive, and the gantry.
Investigating the Gantry
Everything appears to be secure and I’m satisfied that the belt tension is appropriately set. I am hearing a little bit of rattling sometimes as the gantry moves from side to side, but I can’t see anything obvious that seems to be amiss. And I really don’t want to take this structure apart if I don’t have to. Let’s move on to the z-axis worm screw drive.
Z-Axis Worm Screw Drive
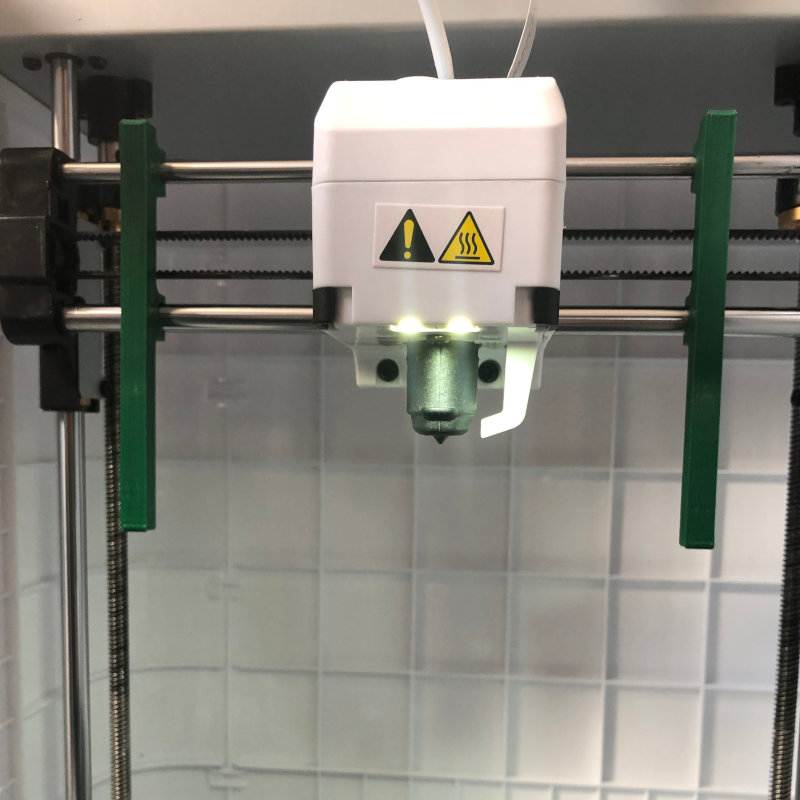
Using the Adventurer 3 menu, I can manually move the print head along all 3 axes. When I move the print head on the z-axis all the way down, it appears unlevel. But it’s tough to orient my calipers in a way for me to be sure. A quick Duck-Duck-Go search landed me on Thingiverse where I discovered this bed leveling tool. It’s a printable tool that will allow me to check whether or not my gantry is level on the z-axis. So I downloaded the .stl file and printed these two pieces as my first Adventurer 3 printer upgrade.
I attached these tools on either side of the print head and lowered it down until the feet of the tool touched my print bed. Imagine my surprise to see that there was about a 2mm difference between the right and left sides of my bed. Aha! Let’s crack open the top and fix this!
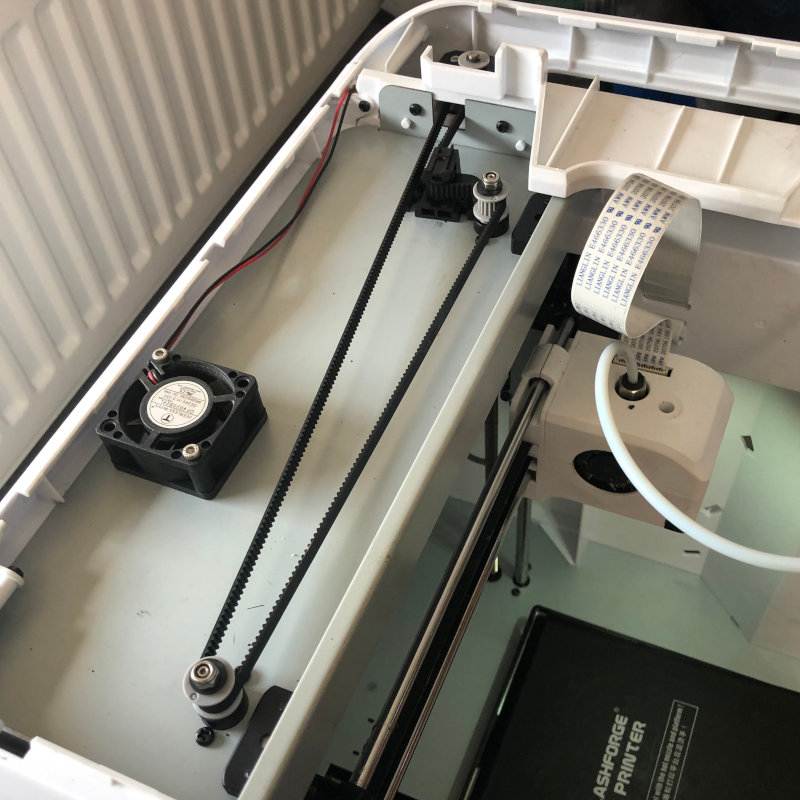
I popped the top off of my Adventurer 3 to access the z-axis motor and belt which drives the worm screws. The belt is held in place by a tensioner that can be quickly removed by loosening a couple of hex screws. Just be careful here. Once you remove the tension from the belt, your print head is going to take the express train to the bottom of your printer! So just make sure you’ve secured the print head before removing the tensioner. I moved the tools out on the rails a bit so that their feet would rest on the floor of my printer. This made leveling the z-axis a snap.
Tensioning the belt again took a little while though. You need to ensure that you don’t turn the screws while you tighten everything up again. But I managed. And a quick check moving the print head up and down shows that the gap I previously observed was gone. Whoo hoo! I printed a little test cube which yielded much better accuracy. But it still wasn’t good enough to print higher precision gears. On to the next item to check, the printer bed itself.
The Print Bed
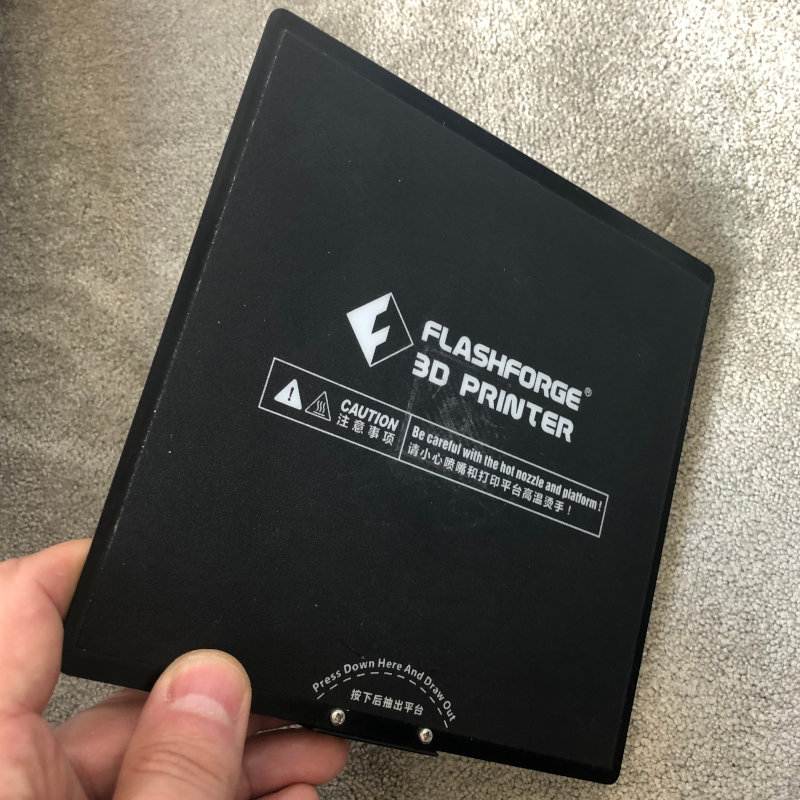
One of the coolest things about the Adventurer 3 is the removable flexible bed that makes removing printed parts very easy. It’s also really good at holding your prints in place while printing. I can honestly say I’ve had zero bed adhesion issues with this printer which is great. But after so much use, I could hardly trust that this thing remains perfectly level.
I checked around for a replacement bed but these are running about $25 bucks plus shipping. That is more money than I want to spend at the moment on a replacement part. OK Duck-Duck-Go, don’t fail me now… I came across several articles that talked about using a glass print bed for 3D printing. How interesting. So I researched a bit more and learned that Flashforge markets a glass bed print bed mod. OK, I might be willing to drop the $35 they want for this. However, they can’t deliver for another couple of weeks. Hmmm. OK, I know what I’m going to do. I’m going to go out and buy a piece of glass like some other users online and give that a whirl.
Time to Go Shopping
I picked up a couple of $6 picture frames at the local home improvement store and headed home. My plan was to cut the glass to 170x170mm which should slide into the printer bed tray nicely. I scored the glass, snapped it, and it shattered gloriously. OK, that’s why I bought 2 frames. Repeated the process with the second frame and got the same result. Ugh, facepalm. Back in the car to the local grocery store. Hey look, a couple of mirrors for $2 each. Why not?
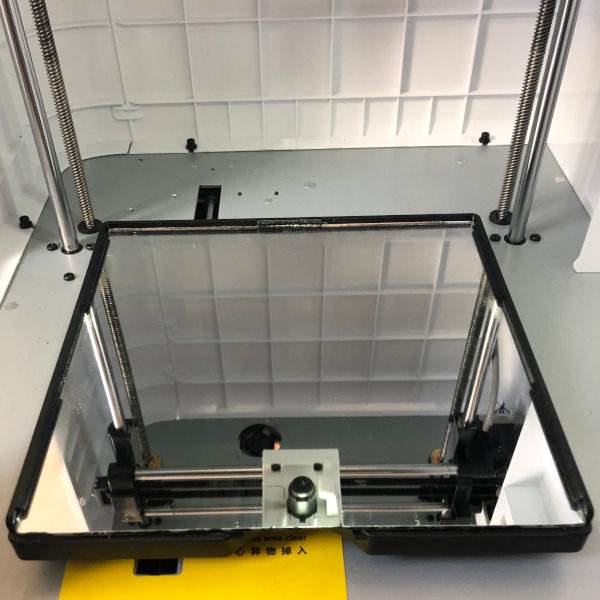
I’m happy to report that cutting the mirror went much more smoothly. It wasn’t perfect, but nothing a little sandpaper couldn’t fix. And at 1.8mm thick, it slid nicely and snugly into the print bed. I carefully calibrated the print head distance to the print bed and took measurements. The front of the bed now sits a little bit higher than the edges but it’s close enough that I’m OK with it. Did I mention how cool it also looks? Not a bad little Adventurer 3 printer upgrade if I do say so myself.

Test Printing on the Mirror Bed
I read somewhere that it’s a good idea to use hairspray on the glass to help with adhesion. While it sounds crazy, I can tell you definitively that it works. I loaded up a test cube and printed it. Not too bad. I made a minor adjustment to the calibration height and then printed another test cube. Bang on! Now it’s time to try to print one of the gears I need for the Gamma Star Tracker.
The planet gear took about 26 minutes to print. This was mainly because I was printing very thin layers and really cranked down the print speed. It was a painful 26 minutes to wait. Was it worth it? Well, not really. But not for the reason you might be thinking.
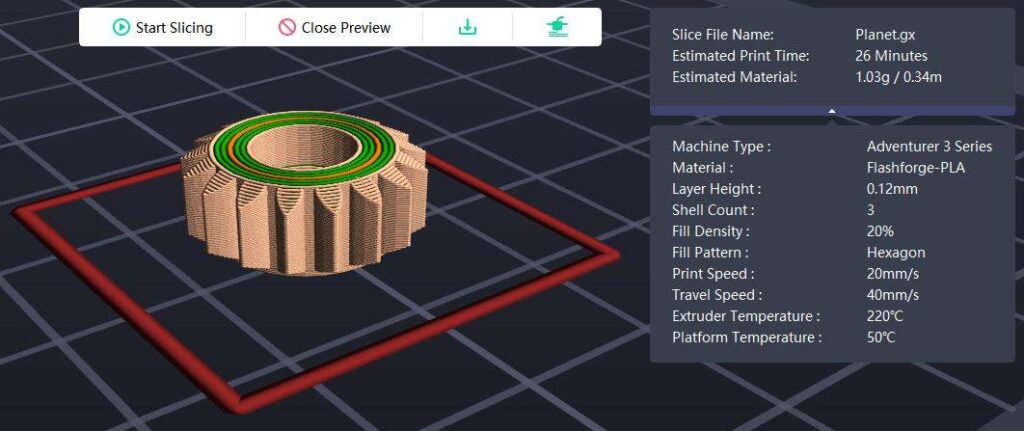
In FreeCad, I designed the gears with 0.2mm of backlash, 0.35mm of clearance, and -0.2mm of tooth head length. I was trying to compensate for the print tolerances. Now, things are printing much more accurately. So the result is that the gears all mesh together too loosely. But this is a great problem to have. I just dialed back the backlash to 0.1mm and the tooth head length to -0.1mm. I could probably even be more aggressive but I’m happy with how the gears are meshing with these settings.
Full Speed Ahead with Gamma
After weeks of torturous printing mishaps, I’m now dialed in with a much more precise printing setup. Who would have thought that a $2 mirror and a couple of minor hardware tweaks could solve all my printing issues? Regardless, I’m thrilled that after a couple of days of printing I’m still seeing consistent and accurate prints. Good thing too as I have a lot of gears to print to finish the Gamma Star Tracker drive.
Bottom line. A glass bed is an awesome upgrade for the Adventurer 3 printer. It’s almost like having a brand new printer. The quality of my printed parts right now is just that good. The only downside is that I need to adjust all the dimensions of my fitted parts as they were designed with margins that are totally overkill now that my precision has been improved. Regardless, I’ll probably go ahead and order the FlashForge Glass print bed as I suspect the mirror won’t be suitable as a long-term solution. I’m pretty sure the temp changes will eventually shatter the mirror and I already see a crack forming. But I’ll use it as long as I can.
The plan right now is to print all the parts I need for the drive and then print a vanilla test rig. I’m not going to go all crazy with designing the whole tracker at this point before learning if my new gear solution is going to work. It better work because I’m running pretty low on ideas. But that was before putting these Adventurer 3 printer fixes and upgrades together. I’m feeling a bit more confident now that I’m on the right track. If all goes well at this point, I reckon I should have something ready to test by next week. Keep your fingers crossed.
Yeah, yeah, I know… No pictures of the Gamma components yet. Well, you’re just going to have to wait and visit once I get it all put together.

I’m curious; didn’t the gantry being unlevel manifest as huge offset differences in the bed calibration settings? Wouldn’t that be an easy way to detect this problem without the bed-leveling tools? The tools would still be useful for fixing this, but you wouldn’t have to print them if the bed-calibration settings showed it was not a problem.
My bed calibration settings are showing only 0.1mm dips in the front two corners, so I assume I’m all good.
Hey Donovan, indeed that would be an easy way to detect the problem if you are certain that your bed surface is true. Fixing the problem on the other hand requires that you keep the gantry level while you tune the belts and this is most efficiently done using the tools.
It sounds to me like you’re gonna be fine with those deviations. I noticed it on my prints where I couldn’t for the life of me remove the rafts from my parts and/or the parts were noticeably skewed. Additionally, once I tuned the belt, the printer was much quieter when printing.
I’m in the process of retiring my Adventurer 3 printer after 2 years of almost non-stop printing. Loved it but it was time for me to upgrade. And I’m thinking of giving it new life by recycling the parts to build a CNC machine. Not enough hours in the day though and I’ll just have to wait and see.