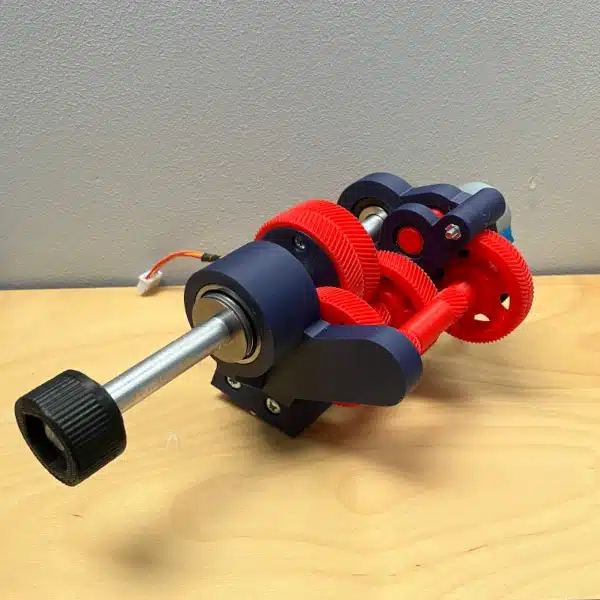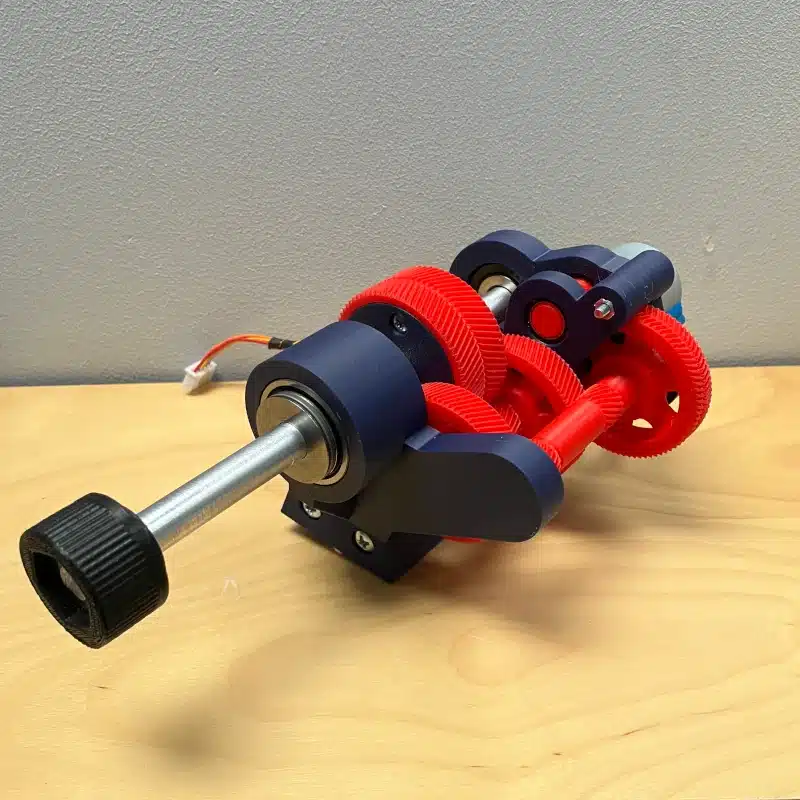
It may seem like I’ve fallen off the face of the planet, but I can assure you, I’m still here. Since my trip in August, I’ve been flat-out with work, suffered through Covid again, and have been roundly disappointed by unceasing cloudy weather. Well, life happens. I’ve kept busy in the meantime thinking and tinkering over what’s next with my Astrophotography journey. And I’m still committed and determined to build a better star tracker. So because life happens, I’ve had plenty of time to work through a new DIY star tracker design. Today, I’ll share some images of the design and a stacked photo from a test session I had the other day.
Simplify Everything
Up to this point, my DIY star tracker adventure has by and large been an exercise in futility. I’ve been so focused on designing the most compact tracker I could think of. But this required complex gearing techniques and precision parts to work even moderately well. Which got me thinking… Is it even possible to build a simple DIY star tracker that can adequately serve a spending-adverse hobbyist?
To answer that question I had to go back to the beginning. Forget compound split ring planetary gears, cycloidal drives, worm gears, and the lot. Start simple. Involute gears. Yes, they aren’t as flashy, compact, and nerd-inspiring as those other systems I mentioned – but they should work. If I can’t get a simple involute gear train to work, then it’s time for me to drop some coin on a commercial solution.
So, did I have any luck with a new star tracker design? Why yes, yes I did!
First a Little Maths
Call me crazy, but I’m fixated on these little 28BYJ-48 stepper motors. I mean, how can you go wrong for $4 with a controller? So, I’m sticking with these little guys and that gives me 4076:1 possible gear reduction right out of the gate. So what overall gear reduction do I need?

I want to shoot with focal lengths up to 400mm, so I’ll need to ensure that my gear reduction is suitable for stepping at least every 0.4 seconds according to the NPF rule. To accomplish that, I’ll need at least an additional gear reduction of 53:1. I’m going to round up to make it easy and target a gear reduction of 60:1 for the final design in 3 stages (4:1, 4:1, 3.75:1). That sounds very doable. I’ll need to move 170 steps per minute to track or one step every 0.352 seconds. 0.352 seconds is less than 0.4 seconds, so I’m good.
For the 4:1 reductions, I’m going to print 80 tooth gears with 20 tooth pinons at an aggressive module of 0.5. I’m pretty sure that my Bambu Lab P1S can handle this but we’ll see. I’ve set the pressure angle to 25 with a beta of 24.67. For the 3.75, I’m printing a 75-tooth gear with a 20-tooth pinion at a module of 0.55. Same pressure angle and beta. A little printing, a few bearings, a few minor headaches, and a little magic produced this.

Is the New Star Tracker Cheap?
I’m talking about cost, not quality – I’ll get to that in a minute. But yes, this is easily the most inexpensive tracker I’ve put together to date. Excluding the electronics, the pictured tracker cost less than $25. I’ll provide a lot more details once I can test this a bit more, but roughly:
| Part Type | Number | Cost |
| Printed Plastic Parts | 12 | $4 |
| Bearings – 6700 10*15*4 | 6 | $7 |
| Bearings – 6200 10*30*9 | 2 | $2 |
| Motor – 28BYJ-48 with Controller | 1 | $4 |
| Bolts and Shaft | Lots | $5 |
| Total | 22 + Bolts | $23 |
So this project is definitely moving in the right direction and ticks a key box in my design considerations – that is, it’s affordable. And actually, it ticks another box – it’s simplicity of design. With only 12 printed parts, it’s the least complex tracker design I’ve produced to date. All good. But does it work?
The Proof is in the Pudding
OK, come on. The new star tracker looks totally cool. It’s inexpensive and simple. But is it going to work? Well, I was thinking it was going to take quite some time to find out given the weather around here lately. But as luck would have it, a brief window of opportunity opened up which gave me about 2 hours to shoot. It was a whole lot of playing dodge cloud, but it was good enough for taking the new star tracker out for a spin.
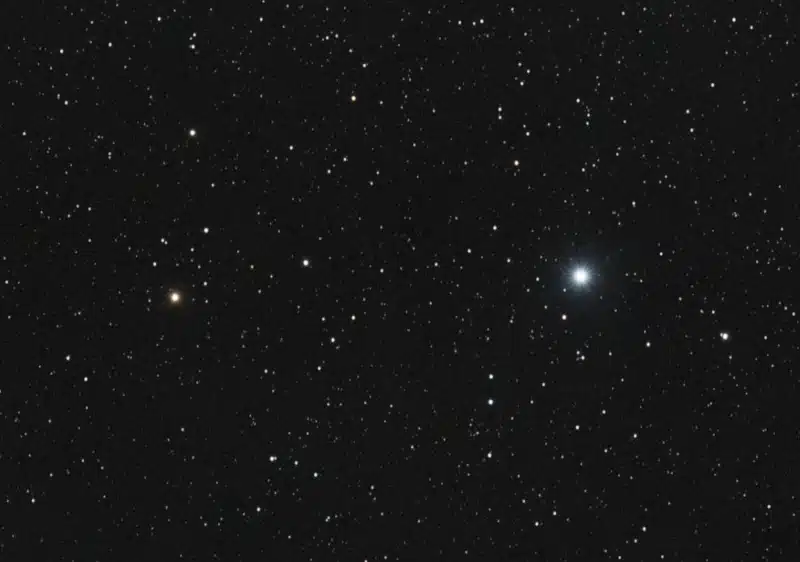
I didn’t have much time so I kind of rushed through getting set up. I was OK with about a 2-minute polar alignment error and then I just let the camera rip from where it was pointed. So, I didn’t shoot anything in particular, but was pleased to learn from plate solving that I had a nice star in the frame – Menkalinan. To be honest, I would have preferred to shoot something a little more exciting, but I really didn’t know how much time I was going to have. And once the clouds finally rolled in, that was it. For my troubles, I had this to show.

It Was A Little Weird

As I was taking the photos, something happened that I’d never experienced before. There was very little discernable drift in the stars from image to image. I thought my computer froze or something… For the hour I shot, the stars ended up drifting a total of 70 pixels on the y-axis and 60 pixels on the x-axis. There did appear to be a minute periodic nature to the drift, but more testing will have to be done. To put this in perspective, that ended up being about 400 arcseconds on each axis give or take. Wow!
Another little detail from the photo above… I kept and stacked every image I shot. I don’t recall ever having had the opportunity to do that before. Now mind you, these were less-than-ideal conditions and I wouldn’t have ordinarily even tried to shoot. And yes, because I stacked every photo, the stars aren’t perfectly round… But for the sake of testing the new star tracker – mission accomplished. And the results of the first test significantly exceeded my expectations.
That’s It For Now
Really, this was just a little update post on what’s been going on. I have a lot to be excited about with the new star tracker and I’m looking forward to getting outside again soon.
Oh, and I’ve also been playing with the Samyang focuser and have a new electronics design that I’m working on to hopefully drive with an ASCOM driver.
Now I just need some clear skies to continue the adventure.
